Explore this Article
X
wikiHow is a “wiki,” similar to Wikipedia, which means that many of our articles are co-written by multiple authors. To create this article, volunteer authors worked to edit and improve it over time.
This article has been viewed 35,919 times.
Learn more...
More and more of our tangible objects are becoming electronic and digitalized. Since many people are increasingly more comfortable with using spreadsheets, having your address book turned into a spreadsheet is a great way to keep your contacts organized and up-to-date. This tutorial uses OpenOffice Calc, a free way to create spreadsheets that will help you to keep up with your family, friends, work and business contacts. Read on to learn how.
Steps
-
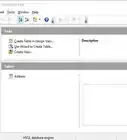
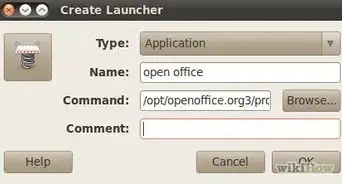
1Open a new, blank spreadsheet.
-
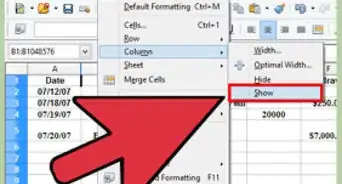
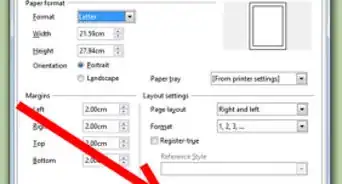
2Right click on column A and select Column Width. Enter in 1.19.
-
3Select columns B and C and enter in the width of 1.49.
-
4Change the width of column D and E to 0.99.
-
5Change the width of column F to 0.59.
-
6Name the columns. Change A1 to F1 to the following:
- First Name
- Last Name
- Street
- City
- State
- Zip Code
-
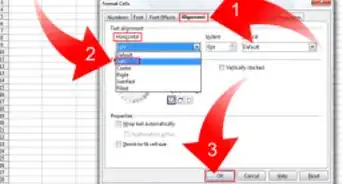
7Center the column titles. Do this by selecting A1 to F1 and then clicking on the center alignment, as indicated in the screenshot.
-
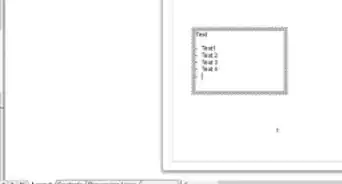
8Add the names of some people. The example ones are fictitious names and/or addresses.
-
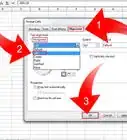
9Format the zip code column. You will notice that the zip with the leading zero is not showing the zero.
- Right click on the F column and then select Format Cells...
- Select the Numbers tab.
- Select Number under the Category section.
- Under Format, click General.
- In the leading zeros box, change the number 1 to 5
- This is how everything should look.
-
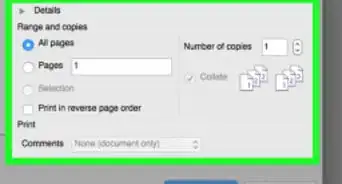
10Create a second page. To know how to place the second page properly, click on the preview icon.
-
11Click on the Preview icon again. Look closely at your spreadsheet. You will see some slightly darker and thicker lines. Those are the edges of the printed page.
-
12Select and copy (CTRL C) the title of the columns in A1 to F1 and paste at the top of the second page.
-
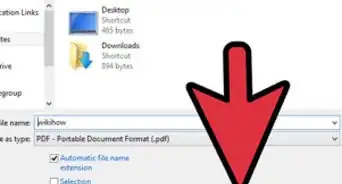
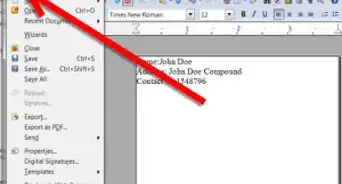
13Save as Address_Book or whatever is appropriate for your purposes.
-
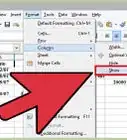
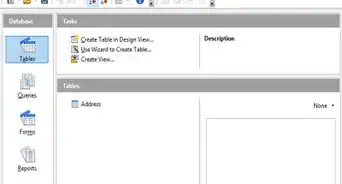
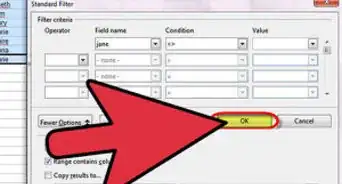
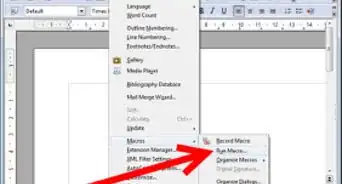
14Register your Address Book spreadsheet as a data source. You need to do that so the program that will be accessing the data (Writer, Impress, Calc) will know where to look.
-
15Assign the fields in the spreadsheet. This makes it so when the program looks for a name, it finds it.


Things You'll Need
- OpenOffice Calc on your computer or electronic device
You Might Also Like
How to
Learn Spreadsheet Basics with OpenOffice Calc
How to
Use OpenOffice Writer
How to
Create a Check Register with OpenOffice Calc
How to
Create an OpenOffice.org Database
How to
Create a PDF File with OpenOffice
How to
Remove Duplicates in Open Office Calc
How to
Print Address Labels Using OpenOffice
How to
Make Labels Using Open Office Writer
How to
Change Margins in OpenOffice
How to
Create an OpenOffice Macro
How to
Draw an Arrow in Open Office Draw
How to
Draw Basic Shapes Using Open Office Draw
How to
Install Apache OpenOffice in Linux

How to
Create a Flyer in Open Office Writer
References
- Original information from http://www.tutorialsforopenoffice.org/tutorial/Address_Book.html#1.Part%201:%20Create%20An%20Address%20Book%7Coutline TutorialsForOpenOffice.org
About This Article
wikiHow is a “wiki,” similar to Wikipedia, which means that many of our articles are co-written by multiple authors. To create this article, volunteer authors worked to edit and improve it over time. This article has been viewed 35,919 times.
How helpful is this?
Co-authors: 5
Updated: February 28, 2020
Views: 35,919
Categories: Featured Articles | OpenOffice.org