X
wikiHow is a “wiki,” similar to Wikipedia, which means that many of our articles are co-written by multiple authors. To create this article, volunteer authors worked to edit and improve it over time.
This article has been viewed 19,803 times.
Learn more...
Steps
-
1Start out by creating a new project or image in Gimp. A good size is 640 X 400.
-
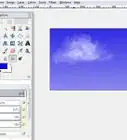
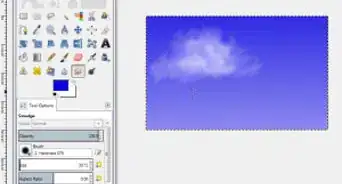
2Fill it with a texture. Do this by:
- Click on the paint bucket icon.
- Select Fill Type >> Pattern Fill and select the pattern that you want. This one is using maple leaves. The original tutorial used bricks. Use whatever appeals to you.
Advertisement -
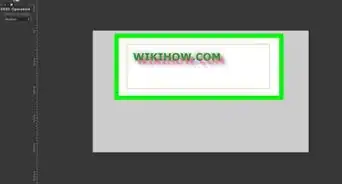
3Click on the Text tool (the big A). Select the appropriate size for your text. Because wikiHow is a 'longish' word, 103 was used for the size and the chosen font is Sans Bold.
-
4After entering in the text, click on the Move tool and move the text where you want it.
-
5Right click on the text layer in the layer toolbar and select Alpha to Selection.
-
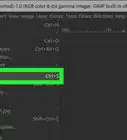
6Fill the selection with the background layer. To do this:
- Click on the background layer and press CTRL C (copy).
- Click in the text selection and press CTRL V (paste).
-
7Anchor the floating text to the text layer. Do this by clicking on the anchor in the layer toolbar.
-
8Add a new transparent layer. Click on the add layer button and make sure Transparency is selected.
-
9Right click on the text layer and then select Alpha to Selection.
-
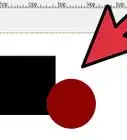
10Left click on the transparent layer, go to Select >> Grow... For this image, it was 'grown' by 6 pixels. That will depend on the basic size of your text. Larger text would need a larger number of 'growth'.
-
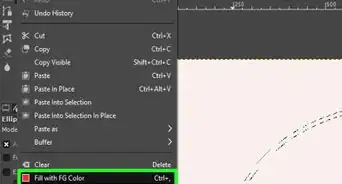
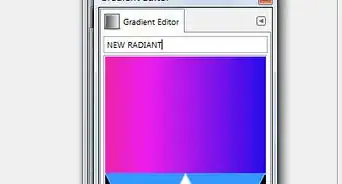
11Fill the text that you just 'grew' with black. Be sure that FG color fill is selected. Your texture fill is probably what is still selected at this point.
-
12Select the entire layer by going to Select >> All. Alternatively, you can use CTRL A.
-
13Go to Filters >> Blur >> Gaussian Blur... Set it to a blur of about 20. Depending on the size of your text, this may vary.
-
14
-
15Right click on the top layer (the text layer), and select Alpha to Selection (yes, again).
-
16Go to Filters >> Decor >> Bevel... Set the thickness of the bevel to 5 and be sure that the two boxes are not checked.
-
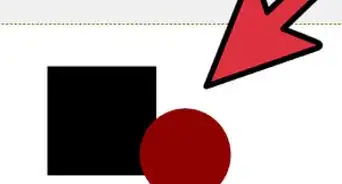
17Move the text. To give it the raised look, your text will need to be moved a very small amount. Raise it up and to the left just a bit. To do this:
- Click on the Move tool.
- Move the text up and to the left slightly.
-
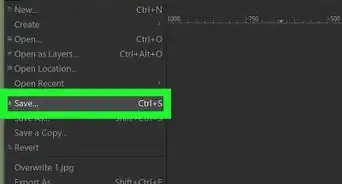
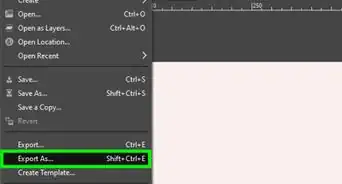
18Save your work in the Gimp native format.
-
19Deselect your text.
-
20Merge/flatten all of the layers.Advertisement


About This Article
Advertisement