X
wikiHow is a “wiki,” similar to Wikipedia, which means that many of our articles are co-written by multiple authors. To create this article, volunteer authors worked to edit and improve it over time.
This article has been viewed 26,274 times.
Learn more...
Steps
-
1Open your images in GIMP. If they are not the same size, be sure that the primary image is larger than the one that will be composited.
-
2Move what you are going to be adding to the scene, a bear in this instance, up so that it is the top layer.
-
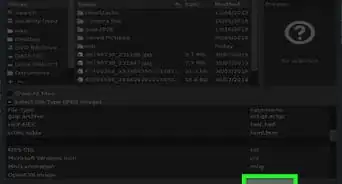
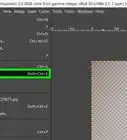
3Right click on that layer and select Add Alpha Channel. You are doing this because you need this layer to have transparency capabilities.
-
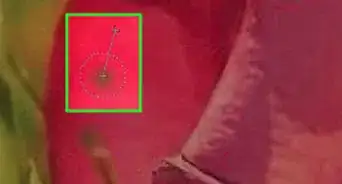
4Look at your image (the bear) and decide what exactly you want to do with it, in relation to the other image. Here, you will see a bear come out of the highway.
-
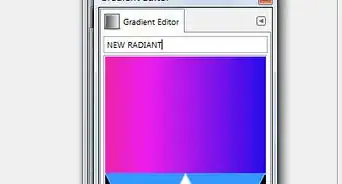
5Select the Free Select tool and choose Feather Edges with a brush radius of 1.0
-
6To keep it from distracting you, make the road layer invisible (click on the eye).
-
7Zoom in closer to the bear.
-
8Start using the Free Select tool on the shape of the bear. You will be tracing out an area close to the top of his head and back.
-
9Trace around the top of the bear until you got the area that you want to be close to the bear done, as in this image.
-
10Continue making the selection, but go back to the original spot, without going through the bear, as in this screenshot.
-
11Press delete. You no longer need the selection, so go to Select >> None or (Ctrl + Shift + A).
-
12Zoom back out.
-
13Select the Eraser tool. Change it to a pretty large size. Keep it in proportion to your image. Here, the Eraser is 400 pixels large. Choose the Hardness 100 brush. You are deleting the parts of the image you don't want.
-
14Click on the layer that you hid before to unhide it. Position your bear about where you think you might want him by using the Move tool.
-
15Be sure you have the Eraser tool selected, then change the brush parameters. You want the brush to be smaller and to use a softer one (hardness of 75).
-
16Keep doing this until you have the selection down as far as you think it should be and achieve your objective.
-
17Zoom back out and look at the two layers. Do they look like they could actually be together? In this image, the water is a little green. Adjust the saturation in it, to make it blend more with the road. Since the bear is a dark object, it won't affect its look and it will help the image look more realistic.
-
18Move the bear to its final position. Try different locations and see how you like it.