X
This article was written by Nicole Levine, MFA. Nicole Levine is a Technology Writer and Editor for wikiHow. She has more than 20 years of experience creating technical documentation and leading support teams at major web hosting and software companies. Nicole also holds an MFA in Creative Writing from Portland State University and teaches composition, fiction-writing, and zine-making at various institutions.
The wikiHow Tech Team also followed the article's instructions and verified that they work.
This article has been viewed 4,079 times.
This wikiHow teaches you how to transfer ownership of a Dropbox file or folder when you’re using a computer.
Steps
-
1Go to https://www.dropbox.com. You can use any web browser to do this, such as Chrome or Safari. If you’re signed in, you’ll see the contents of your Dropbox.
- If you aren’t signed in, click Sign in at the top-right corner of the screen to do so now.
-
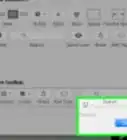
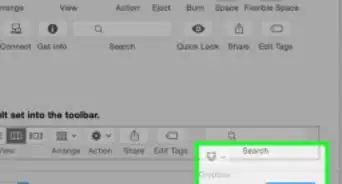
2Hover the mouse over the file or folder you want to transfer. A new button will appear at its far-right edge.
-
3Click Share. This opens the sharing panel.
-
4Type the new owner’s email address into the “To” field.
-
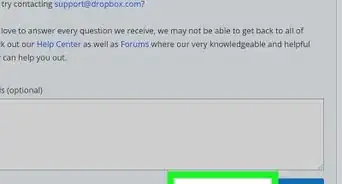
5Type a message. This could be any information you want to include, such as information about the file or folder. This is an optional step.
-
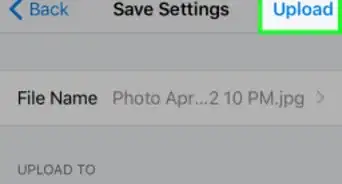
6Click Share. It’s the blue button at the bottom-right corner of the sharing panel. The panel will close, and you’ll once again see your Dropbox.
-
7Hover the mouse over the file or folder again.
-
8Click Share. This re-opens the sharing panel.
-
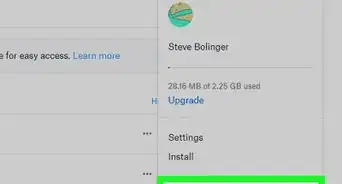
9Click the drop-down menu next to the new owner’s name.
-
10Click Make owner. A confirmation message will appear.
-
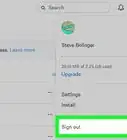
11Click Make owner to confirm. You are no longer the owner of the file or folder.
- To confirm, hover the mouse over the file or folder and click Share. The word “Owner” now appears next to the new owner’s name.


About This Article

Nicole Levine, MFA
Tech Specialist
This article was written by Nicole Levine, MFA. Nicole Levine is a Technology Writer and Editor for wikiHow. She has more than 20 years of experience creating technical documentation and leading support teams at major web hosting and software companies. Nicole also holds an MFA in Creative Writing from Portland State University and teaches composition, fiction-writing, and zine-making at various institutions. This article has been viewed 4,079 times.
How helpful is this?
Co-authors: 5
Updated: May 25, 2021
Views: 4,079
Categories: Dropbox