X
wikiHow is a “wiki,” similar to Wikipedia, which means that many of our articles are co-written by multiple authors. To create this article, volunteer authors worked to edit and improve it over time.
This article has been viewed 16,007 times.
Learn more...
Need to learn layer masks? Using them in various ways can help you learn how useful of a tool they are. This article will show you how to remove the background using a layer mask in Gimp.
Steps
-
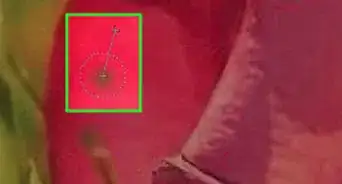
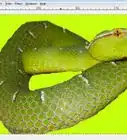
1Open up your image in Gimp. This picture of a toddler will be used here.
-
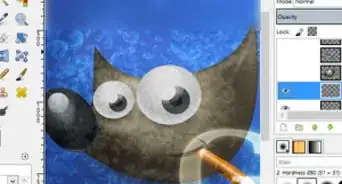
2Click on the brush icon and set it to a 'softish' setting. You don't want it to be too hard or too soft. This will keep your edge from being too hard so that your subject will blend in easier in whatever scene you might put them in.
-
3Zoom in and start drawing around the subject.
-
4When you think you are done, zoom out and check your progress. Look closely to make sure you got it all. You might need to resize your brush to get everything.
-
5Continue until you have everything complete. What you are doing is creating a type of buffer between the subject and the background.
-
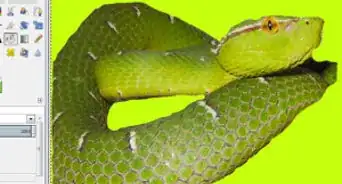
6Click on the Free Select icon and draw around your subject again. It will be much easier now that the layer has been removed.
-
7Invert your selection. Do this by going to Selection >> Invert. This will pick everything but your subject.
-
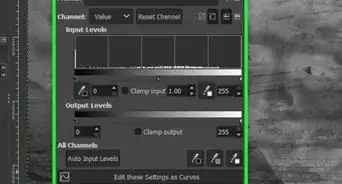
8Be sure that your background and foreground are black and white.
-
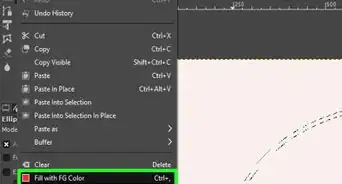
9Click on the Bucket Fill tool and fill in the selection. Be sure that your background is set to black. This should make your background disappear. If not, switch your background and foreground colors.
- You should be seeing your isolated subject by itself by now.
- If you notice a 'halo' around your image, it is because of the 'softish' brush.
-
10Making sure your inverted selection is still active, select your eraser tool. Erase all of the halo. Since you still have your inverted selection, you can be as messy as you want. Only what is outside of your subject will be erased.
-
11