X
wikiHow is a “wiki,” similar to Wikipedia, which means that many of our articles are co-written by multiple authors. To create this article, volunteer authors worked to edit and improve it over time.
This article has been viewed 12,136 times.
Learn more...
Have an image that you want to give a 'retro' look? Here is how, in Gimp!
Steps
-
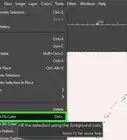
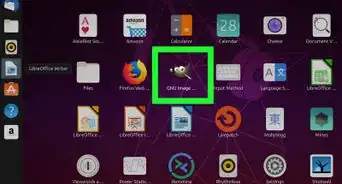
1Open your image in Gimp. If it has any problems, remove them before you apply this effect.
-
2Go to Colors >> Desaturate. It is your choice which option your choose. Choose whichever one you like best.Advertisement
-
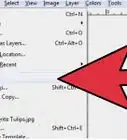
3Press CTRL A and then CTRL C. Basically, you are copying to be used later..
-
4Change your foreground color to a sepia tone.
-
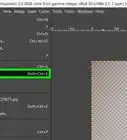
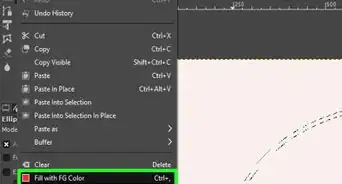
5Create a new layer (CTRL + SHIFT + N) and fill it with the foreground color.
-
6Right click on the layer and then select Add Layer...
-
7Press CTRL V (paste) and you will have a floating layer.
-
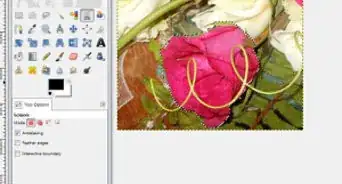
8
-
9Check that the layer mask is active (click on it), then go to Colors >> Invert.
-
10Change the Blending mode of the layer to Color. You can leave it there, or you might try reducing the opacity of that layer, depending on what you want it to look like.
-
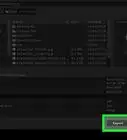
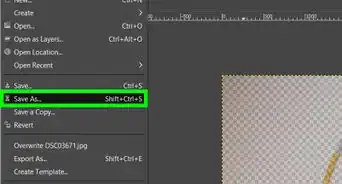
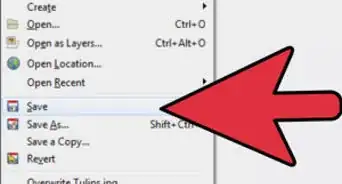
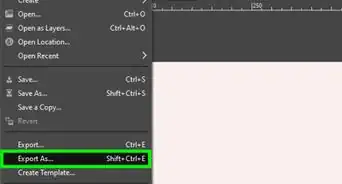
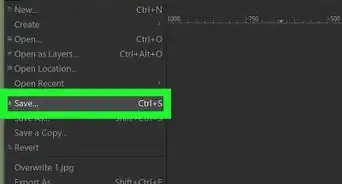
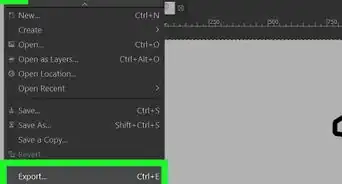
11Export your image in the format that you want.Advertisement


References
- Original source of information from The Book of Gimp. ISBN 978-1-59327-383-5
About This Article
Advertisement