X
wikiHow is a “wiki,” similar to Wikipedia, which means that many of our articles are co-written by multiple authors. To create this article, 10 people, some anonymous, worked to edit and improve it over time.
This article has been viewed 32,621 times.
Learn more...
Do you want to make your own brush type in gimp? This is useful for lots of purposes, and not hard at all. Just keep reading.
Steps
-
1Open Gimp, go to File -> New, select the image size you want and press OK. If you already have the image of what you want to make into a brush, skip to step 3. Enlarge the image if you want by selecting a size at the bottom of your screen.
-
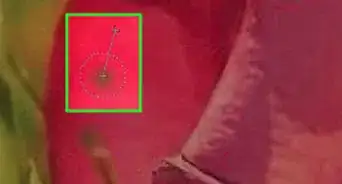
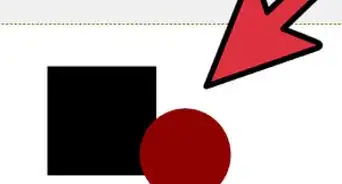
2Draw something which you want to make into a brush. In this example I have drawn a smiley face with a yellow background.
-
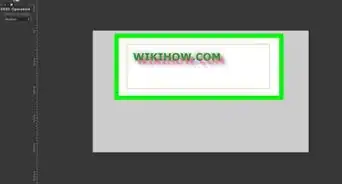
3Select the part of your picture which you want to make into a brush by using the rectangular or circular select tool on the Toolbox panel. If you want to use what you can see on your screen in Gimp, just go to Select -> All.
-
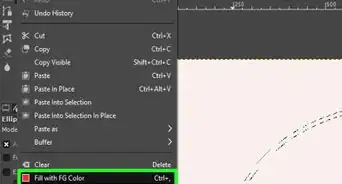
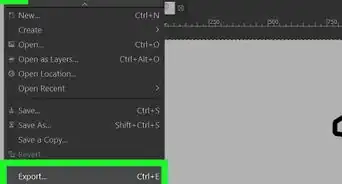
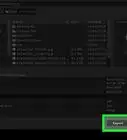
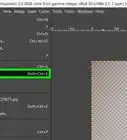
4Copy your selected area by pressing Ctrl+C or Ctrl+X, or go to Edit -> Copy or Edit -> Cut.
-
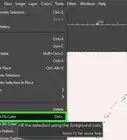
5See if you are able to see your own brush in the brushes select menu. To use your brush, select the Paintbrush Tool or Pencil Tool in the Toolbox, and select your brush type.