X
wikiHow is a “wiki,” similar to Wikipedia, which means that many of our articles are co-written by multiple authors. To create this article, volunteer authors worked to edit and improve it over time.
Learn more...
SSH (Secure Shell) is a protocol to securely connect to a computer and start a shell session. This article explains how to install and test some of the SSH server options provided by Ubuntu.
Steps
Method 1
Method 1 of 2:OpenSSH
Method 1
-
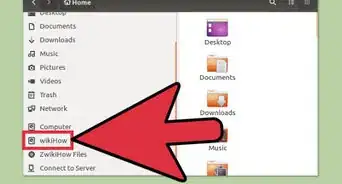
1Press Alt+F2 to launch the Run dialog box.
-
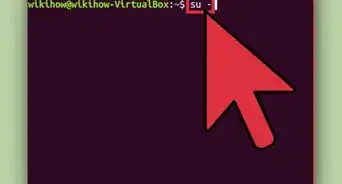
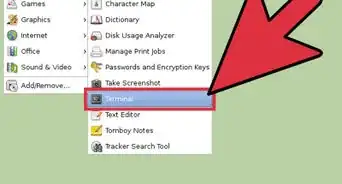
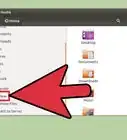
2Enter "x-terminal-emulator" to launch a terminal window.
-
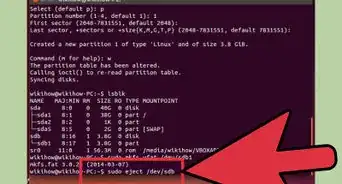
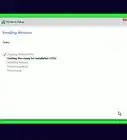
3Enter sudo apt install openssh-server. Enter your password if prompted. Wait for apt to download and set up the OpenSSH server.
-
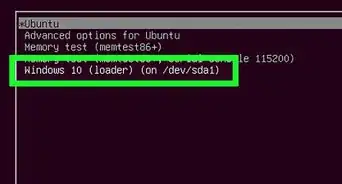
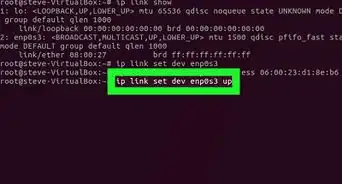
4Test the SSH server by entering ssh localhost. On the first connection to a new server, you will be asked if you are sure you want to continue connecting. Say 'yes' to continue. You will then be prompted for your password. Enter it, and you should be logged in. You can disconnect by entering logout or by pressing Ctrl+D.


Method 2
Method 2 of 2:Dropbear
Method 2
-
1Press Alt+F2 to launch the Run dialog box.
-
2Enter "x-terminal-emulator" to launch a terminal window.
-
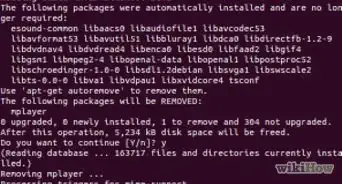
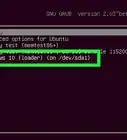
3Enter sudo apt install dropbear. Wait for apt to download and set up dropbear.
-
4Test the SSH server by entering ssh localhost. On the first connection to a new server, you will be asked if you are sure you want to continue connecting. Say 'yes' to continue. You will then be prompted for your password. Enter it, and you should be logged in. You can disconnect by entering logout or by pressing Ctrl+D.

Warnings
- Be sure to keep both your SSH server and client up to date. Otherwise, you may be unable to connect, because they won't have any methods in common of exchanging secure information.Thanks!