X
This article was written by Nicole Levine, MFA. Nicole Levine is a Technology Writer and Editor for wikiHow. She has more than 20 years of experience creating technical documentation and leading support teams at major web hosting and software companies. Nicole also holds an MFA in Creative Writing from Portland State University and teaches composition, fiction-writing, and zine-making at various institutions.
This article has been viewed 6,477 times.
This wikiHow teaches you how to add new features to Kodi for Windows or macOS by installing add-ons.
Steps
-
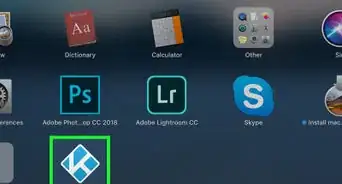
1Open Kodi on your computer. It’s usually in the All Apps section of the Start menu on a PC, and in the Applications folder on a Mac.
-
2Click Add-ons. It’s near the center of the left column.
-
3Click the Open Package icon. It’s the blue circle with a white open box at the top of the left column.
-
4Click Install from repository. It’s the third option in the right panel. Several categories will appear.
-
5Select a category. Click the topic that describes the type of add-on you want to install.
- For example, to install a TV network like CNN, select Video add-ons.
- To install an add-on that displays subtitles for movies, select Subtitles.
-
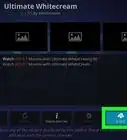
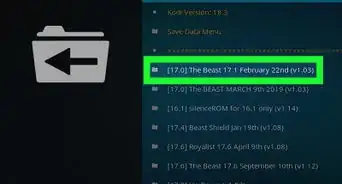
6Select an add-on. Scroll through the list until you find something you like, then double-click it to view more information.
-
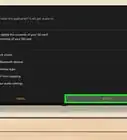
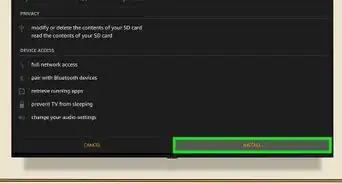
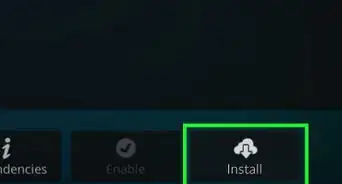
7Click Install. It’s the cloud icon with an arrow at the bottom-right corner of the window. The selected add-on will install.
- To view all installed add-ons, click the Add-ons link in the left column.
- To open an add-on, double-click the tile on the Add-ons page.


About This Article

Nicole Levine, MFA
Tech Specialist
This article was written by Nicole Levine, MFA. Nicole Levine is a Technology Writer and Editor for wikiHow. She has more than 20 years of experience creating technical documentation and leading support teams at major web hosting and software companies. Nicole also holds an MFA in Creative Writing from Portland State University and teaches composition, fiction-writing, and zine-making at various institutions. This article has been viewed 6,477 times.
How helpful is this?
Co-authors: 2
Updated: August 28, 2018
Views: 6,477
Categories: Kodi
Article SummaryX
1. Open Kodi.
2. Click Add-ons.
3. Click the open box icon.
4. Click Install from repository.
5. Select a category.
6. Select an add-on.
7. Click Install.
Did this summary help you?