X
wikiHow is a “wiki,” similar to Wikipedia, which means that many of our articles are co-written by multiple authors. To create this article, volunteer authors worked to edit and improve it over time.
This article has been viewed 24,014 times.
Learn more...
Making an edge fade away into the foreground is a common image editing technique. GIMP is one of a few powerful programs that let a user fade the edge of an image to his exact needs.
- please note the images are shown on OSX, but the menu buttons and GIMP buttons are identical on Windows, they will simply have a different skin/appearance.
Steps
Part 1
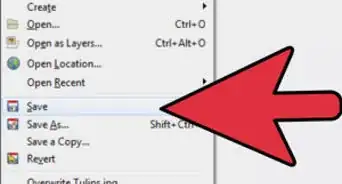
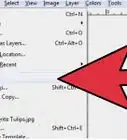
Part 1 of 5:Opening an Image
Part 1


Part 2
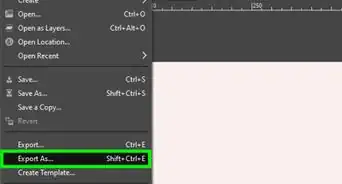
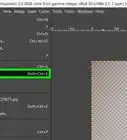
Part 2 of 5:Adding an Alpha Channel
Part 2


Part 3
Part 3 of 5:Adding a Layer Mask
Part 3


Part 4
Part 4 of 5:Feathering the Edge
Part 4
-
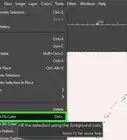
1Select “Blend Tool” in your toolbox.
-
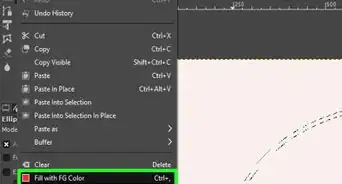
2Click and drag from where you want your fade to end, to where you want your fade to begin.
- Don’t like how you fade looks? Simply hit Ctrl+z (on OSX) or Ctrl+z (on Windows) to undo your last step and try again!
- The fade you establish will run along the length of the page, perpendicular to the line you drag.
- Hold ⌘ Cmd (on OSX) or Ctrl (on Windows) while dragging to make your line automatically stick to set angles, making a perfectly vertical or horizontal line easier.


Part 5
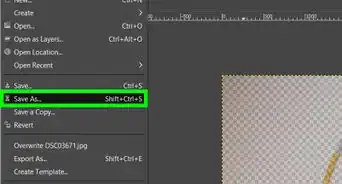
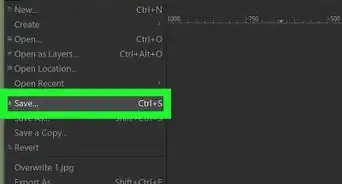
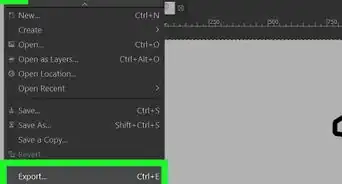
Part 5 of 5:Exporting the Image
Part 5