X
wikiHow is a “wiki,” similar to Wikipedia, which means that many of our articles are co-written by multiple authors. To create this article, volunteer authors worked to edit and improve it over time.
This article has been viewed 1,173 times.
Learn more...
The Ubuntu Firewall (UFW) is the default firewall software on Ubuntu. It is used to control incoming and outgoing network traffic based on the rules supplied.
Steps
-
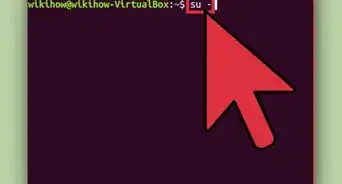
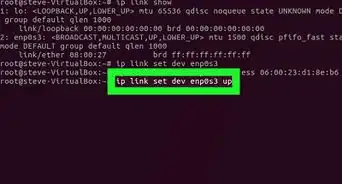
1Press the Ctrl + Alt + T keys together. This will open the Terminal in Ubuntu.
- Alternatively, you can open the terminal via pressing Super key (the ⊞ Win key on Windows keyboards), and typing in "Terminal".
-
2Type in the command "sudo ufw status", in order to see if the Ubuntu Firewall is enabled or not.Advertisement
-
3If the return message says "Status: Inactive," then use the command "sudo ufw enable".
- If the return message says "Status: Active," then you can move on to the next step.
-
4Use the command "sudo ufw status verbose" in order to list all of the firewall rules.
-
5Use the following commands to edit the firewall rules:
- "sudo ufw allow " to enable incoming traffic on the specified port. For example, "sudo ufw allow 22/tcp," or "sudo ufw allow 25565/tpc" allows incoming traffic through port 22 and 25565, respectively.
- sudo ufw deny " to disable incoming traffic on the specified port. This works as the opposite of the "sudo ufw allow " command.
Advertisement


Warnings
- Always be careful when using the sudo command, make sure you understand what the command is going to do before you hit enter.Thanks!
- When changing firewall settings, it's possible to disable protection on your device. Make sure that the firewall is always enabled, unless you have a special situation.Thanks!
Advertisement
About This Article
Advertisement