X
wikiHow is a “wiki,” similar to Wikipedia, which means that many of our articles are co-written by multiple authors. To create this article, volunteer authors worked to edit and improve it over time.
This article has been viewed 11,054 times.
Learn more...
The camera on your iPad captures photos at great quality. One useful feature is the ability to zoom in or zoom out of the picture. This is useful when you are near an object, or a person, and you need to capture the whole image. Do note that zooming can reduce the quality of the images captured.
Steps
-
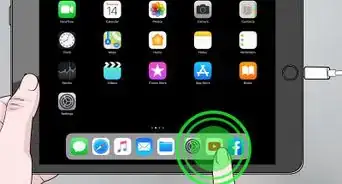
1Switch to one of the Photo modes. You can use the zoom feature in the "Photo" and "Square" modes. You cannot use zoom while in the "Video" or "Time-Lapse" modes.[1]
- You can switch modes by swiping the mode in the corner of the screen.
-
2Place two fingers on the screen and move them apart. This will begin zooming in.[2]
- By default, the picture will start as zoomed-out as possible.
-
3Pinch your fingers together to zoom out, and move them apart to zoom in. You will notice that zooming in will result in a lower-quality image.
-
4Use the slider to make minor adjustments. When you start zooming, you'll see a slider appear at the bottom of the screen. Use this slider to make fine adjustments to the zoom. The slider will disappear after a few moments when you finish zooming.