X
This article was co-authored by Luigi Oppido. Luigi Oppido is the Owner and Operator of Pleasure Point Computers in Santa Cruz, California. Luigi has over 25 years of experience in general computer repair, data recovery, virus removal, and upgrades. He is also the host of the Computer Man Show! broadcasted on KSQD covering central California for over two years.
The wikiHow Tech Team also followed the article's instructions and verified that they work.
This article has been viewed 5,882 times.
This wikiHow teaches you how to create a zip file from a folder using either the built-in Windows zip tool or a third-party app like WinZip.
Steps
Method 1
Method 1 of 2:Using the Built-in Zip Tool
Method 1
-
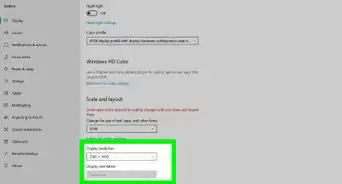
1Navigate to the folder you want to zip. No need to open the folder, just bring it onto the screen. As of Windows 7, Windows has the ability to zip files without downloading a third-party app like WinZip. If you prefer WinZip, see Using WinZip.
- An easy way to find folders is to open the File Explorer. You can do this by pressing ⊞ Win+E, or by clicking File Explorer in the Windows menu.
-
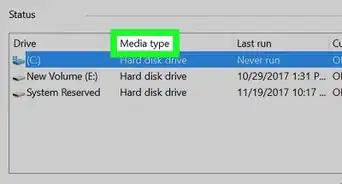
2Right-click the folder. A menu will appear.
-
3Click Send to. Another menu will appear.
-
4Click Compressed (Zipped) folder. This creates a new zip file from the folder. It also highlights the name of the new file so you can edit it.
-
5Name the file. The file takes the name of the folder by default. You’ll notice that the current name is highlighted for easy editing. You can type a new name for the file if you wish, or just skip to the next step.
-
6Press ↵ Enter. The zip file is now saved.


Method 2
Method 2 of 2:Using WinZip
Method 2
-
1Navigate to the folder you want to zip. No need to open the folder, just bring it onto the screen.
- An easy way to find folders is to open the File Explorer. You can do this by pressing ⊞ Win+E, or by clicking File Explorer in the Windows menu.
- Use this method if you prefer using WinZip, the popular shareware compression app, rather than the default tool in Windows. If you’d rather use the tool that’s built into Windows, see Using the Built-in Zip Tool.
-
2Right-click the folder. A menu will appear.
-
3Click WinZip. This opens the WinZip menu.
-
4Click Add to filename.zip. Instead of “filename,” you’ll see the name of the folder. This adds the contents of the folder to the zip file.
- If you’re using the free trial version of WinZip, you’ll be prompted to register the software. Click Use Evaluation Version, or click Buy Now to purchase.
- If you’d rather specify a file name and location, select Add to Zip file, select a name and location, then click Add.
-
5Click OK on the confirmation window. This is the window that tells you your files have been added. This will compress the zip file, giving it a smaller file size.


References
- ↑ Luigi Oppido. Computer & Tech Specialist. Expert Interview. 31 July 2019.
About This Article

Luigi Oppido
Computer & Tech Specialist
This article was co-authored by Luigi Oppido. Luigi Oppido is the Owner and Operator of Pleasure Point Computers in Santa Cruz, California. Luigi has over 25 years of experience in general computer repair, data recovery, virus removal, and upgrades. He is also the host of the Computer Man Show! broadcasted on KSQD covering central California for over two years. This article has been viewed 5,882 times.
How helpful is this?
Co-authors: 3
Updated: May 25, 2021
Views: 5,882
Categories: Windows