X
This article was written by Nicole Levine, MFA. Nicole Levine is a Technology Writer and Editor for wikiHow. She has more than 20 years of experience creating technical documentation and leading support teams at major web hosting and software companies. Nicole also holds an MFA in Creative Writing from Portland State University and teaches composition, fiction-writing, and zine-making at various institutions.
The wikiHow Tech Team also followed the article's instructions and verified that they work.
This article has been viewed 1,983 times.
This wikiHow teaches you how to use the DocuSign app on your Android phone or tablet to sign a document.
Steps
Part 1
Part 1 of 3:Installing DocuSign
Part 1


Part 2
Part 2 of 3:Setting Up DocuSign
Part 2
-
1Write your signature on a sheet of paper. You’ll need to snap a photo of it with your Android’s camera in a few moments.
-
2Write your initials on a sheet of paper. You’ll also need to snap a photo of your first and last initial to confirm your account.
-
3Open DocuSign. It’s the blue icon with a yellow chat bubble and red arrow inside. You’ll usually find it on the home screen or in the app drawer.
-
4Tap SIGN UP.
-
5Enter your name, email, and password. You’ll have to enter your password twice to confirm that you’ve typed it correctly.
-
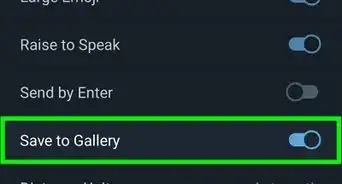
6Tap SIGN UP. DocuSign will send an activation email to the address you entered. You’ll need to open your email app to access this message.
-
7Tap the link in the email from DocuSign. This completes the activation.
-
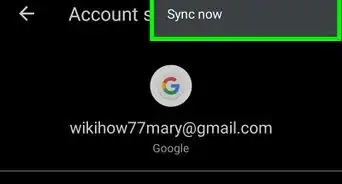
8Tap Check activation. This re-opens the DocuSign app.
-
9Tap Edit your signature.
-
10Tap Draw your signature.
-
11Draw your signature on the screen with a finger. It should look as close to your regular signature as possible.
-
12Tap the check mark. It’s at the top-right corner of the screen. Your signature is saved.
-
13Draw your initials with a finger.
-
14Tap the check mark. Your initials are now saved.
-
15Tap Take a picture of your signature. This opens the camera on your phone or tablet.
- If prompted to give the app permission to access your files or use the camera, grant the appropriate permissions.
-
16Take a photo of your signature. Line the signature up in the frame and tap the shutter button.
-
17Tap the check mark.
-
18Crop the photo and tap Save. Make sure to crop it so that only your signature is visible.
-
19Tap Take a picture of your initials.
-
20Take a photo of your initials.
-
21Tap the check mark.
-
22Crop the photo and tap Save. The photo should only include your initials and nothing more. Now that you’ve added your signature and initials to DocuSign, you can sign documents on your Android.Advertisement


Part 3
Part 3 of 3:Signing a Document
Part 3
-
1Open DocuSign. It’s the blue icon with a yellow chat bubble and red arrow inside. You’ll usually find it on the home screen or in the app drawer.
-
2Tap the +. It’s inside a yellow circle. If it’s your first time using this feature, you’ll have to grant the app permission to access your files.
-
3Tap the folder that contains the file you want to sign.
-
4Tap the file you want to sign. The file’s contents will appear.
-
5Tap SIGN NOW. It’s at the bottom-left corner of the screen.
-
6Tap the document. A list of field options will appear.
-
7Select the fields you wish to add.
-
8Tap Signature. This pastes your signature into the document.
-
9Drag the signature to the appropriate location. To do this, tap and drag the image of your signature, then drop it onto the part of the document where you’d normally write your name.
-
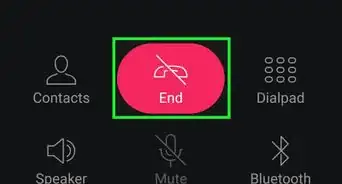
10Tap FINISH. It’s at the bottom-left corner of the screen.
-
11Tap Send or Close. Choose Send if you want to email the signed document back to the sender, or Close to save it for later.Advertisement


-Step-34.webp)
About This Article

Nicole Levine, MFA
Tech Specialist
This article was written by Nicole Levine, MFA. Nicole Levine is a Technology Writer and Editor for wikiHow. She has more than 20 years of experience creating technical documentation and leading support teams at major web hosting and software companies. Nicole also holds an MFA in Creative Writing from Portland State University and teaches composition, fiction-writing, and zine-making at various institutions. This article has been viewed 1,983 times.
How helpful is this?
Co-authors: 2
Updated: October 25, 2021
Views: 1,983
Categories: Android Applications
Advertisement