X
wikiHow is a “wiki,” similar to Wikipedia, which means that many of our articles are co-written by multiple authors. To create this article, 9 people, some anonymous, worked to edit and improve it over time.
This article has been viewed 33,297 times.
Learn more...
Brushes are handy in any graphic program, and Inkscape is no different. This article shows you some ways to use them.
In this article, you will learn how to quickly create a brush.
Steps
-
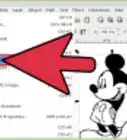
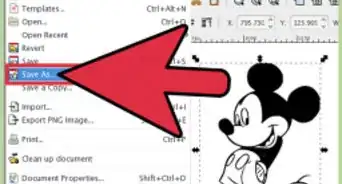
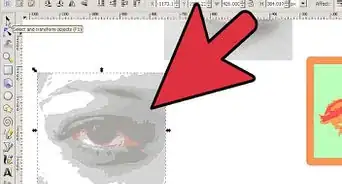
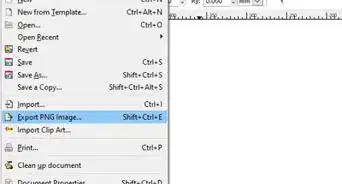
1Import a PNG.
-
2Vectorize it by performing an automatic trace and simplify the resulted path (you can use a brush obtained by whatever way you like, just be aware some of the tips described below work only with a path, not with a group or a special shape).Advertisement
-
3Select your path, drag it freely over the canvas and press the Space key while dragging from time to time when you want to place a stamp.
-
4Alternatively, select the path, press Space and start dragging the path while the key is pressed. Control the density by adjusting the drag speed.Advertisement


Method 1
Method 1 of 3:Pattern along Path
Method 1
This is using an extension included with Inkscape 0.45, in future version its name and location may be changed.
-
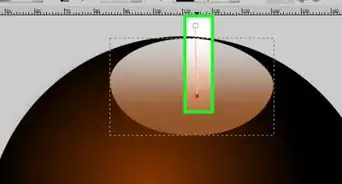
1Draw a bézier curve as a guide, modify its shape at will.
-
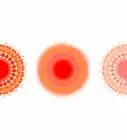
2Select the path stamp (it should be a single path, not a group) and the guide and use Effects > Generate from Path > Pattern along Path.
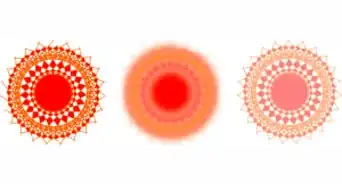
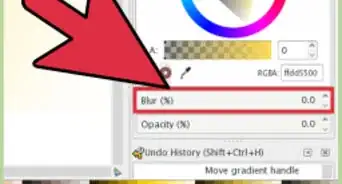
- For a nicer effect, the result is colored with a simple gradient.
Advertisement


Method 2
Method 2 of 3:Interpolation
Method 2
This is using an extension included with Inkscape 0.45, in future version its name and location may be changed.
-
1Create two copies of your path, use different colors if you like.
-
2Select both of them and use Effects > Generate from Path > Interpolate.
-
3If the start and end paths have different colors, check the "Interpolate style" box.Advertisement


Method 3
Method 3 of 3:Cloned Tiles
Method 3


References
- This Tutorial - written by Nicu, who licensed this content Creative Commons Attribution Share Alike (CC-BY-SA).
About This Article
Advertisement