X
wikiHow is a “wiki,” similar to Wikipedia, which means that many of our articles are co-written by multiple authors. To create this article, volunteer authors worked to edit and improve it over time.
This article has been viewed 25,722 times.
Learn more...
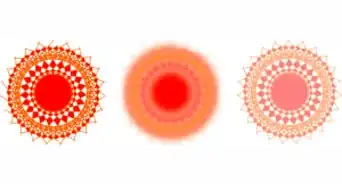
Vector graphics are great! No matter how small or how large, they don't pixelate. This enables you to use them in just about every way you can think of. Read on to learn how to make a vector 8 ball.
Steps
-
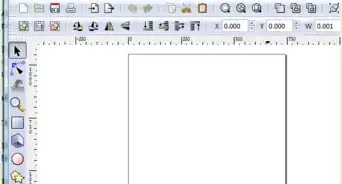
1In Inkscape, select the ellipse icon. Holding down the Ctrl key, draw a circle. The Ctrl keeps the circle completely round.
-
2Remove the outline (stroke). Do this by:
- Look to the lower left of the screen where the Fill and Stroke toolbar is.
- Right click on the stroke (black in this screenshot) and select Remove Stroke.
Advertisement -
3Change the color of the fill. Select a brownish with the left mouse click.
-
4Click on the gradient icon and then select the radial option.
-
5Click in the upper left part of the globe that you have created. Drag down to the lower left about 2/3s of the way across the shape.
- Note in the screenshot that there is a handle that is blue. It needs to be blue (or selected) for the next step.
-
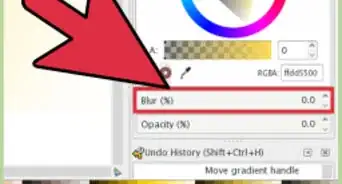
6With the handle blue, select black with your mouse. This will give it a black/orange gradient.
-
7Make the white sphere for the 8 ball. Start off with another circle of the appropriate size and then make it white. Move it to where you think it should be.
-
8[Image:Inkscape Gradient icon.png|left]]Click on the gradient icon again, but this time, select the linear gradient. It is just to the left of the radial one.
-
9Start at the top center of the circle and lower the gradient. This will make the bottom grayish.
-
10Click on the A (text tool) and go to the white circle in the 8 ball. Type 8.
-
11Click on the arrow and then 'grow' the 8 until it is the right size.
-
12With the 8 still selected, hold down the Shift key and select a light gray. This will give the 8 a light gray outline. It will be most noticeable at the bottom of the 8.
-
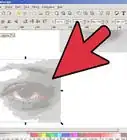
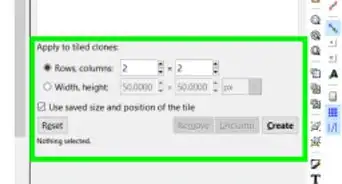
13Click back on the first circle and copy it with a Ctrl D. Hold down the Ctrl key, select the bottom, center arrow and start moving. You are reducing the size of the circle and moving it up.
-
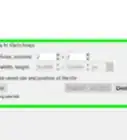
14Click on the side center arrow, hold down Shift, and pull to the side. This will stretch it out somewhat.
-
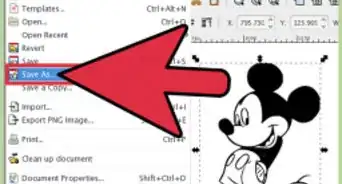
15Change the object to path by selecting Path >> Object to Path.
-
16Click on the node edit tool, select the bottom node, and push up. You are trying to slightly distort/flatten the reflection.
-
17Select the gradient icon and, using the linear option, create the gradient. You will start at the top center of the circle.
-
18After bringing it down far enough, select the top handle and move it up higher. This has the effect of lightening the gradient even further.Advertisement


About This Article
Advertisement