This article was co-authored by wikiHow Staff. Our trained team of editors and researchers validate articles for accuracy and comprehensiveness. wikiHow's Content Management Team carefully monitors the work from our editorial staff to ensure that each article is backed by trusted research and meets our high quality standards.
The wikiHow Tech Team also followed the article's instructions and verified that they work.
This article has been viewed 14,290 times.
Learn more...
This wikiHow teaches you how to disconnect your Google Drive account from Google's desktop Backup & Sync app, and delete the app from your computer. You will have to first disconnect your account from the app in order to secure your files on the cloud.
Steps
Part 1
Part 1 of 2:Disconnecting Your Account
-
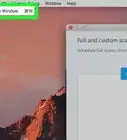
1Click the Backup & Sync icon on the menu bar. This button looks like a cloud-shaped icon near the upper-right corner of your screen. It will open a pop-up window.
- If you don't see the icon on your menu bar, find and click the Backup & Sync app in your Applications folder first. The icon should now show up on the menu bar.
-
2Click the ⋮ icon. This button is located on the top-right corner of the Backup & Sync window. It will open a drop-down menu.Advertisement
-
3Click Preferences on the drop-down menu. This will open your app options in a new pop-up window.
-
4Click Settings. You can find it next to a gear icon on the left-hand side of the Preferences window.
-
5Click Disconnect Account. It's located on the right-hand side underneath your account name and storage details. It will open a confirmation pop-up.
-
6Click Disconnect in the confirmation window. It's on the bottom-right corner. This will confirm your action, and disconnect your Google Drive account from the Backup & Sync app on your computer.
- A confirmation pop-up will appear and let you know your Google Drive folder is no longer synced with Google Drive on the web.
-
7Click Got It. This will close the confirmation pop-up.
- You can now delete the Backup & Sync app from your computer without affecting your files on the cloud.
Advertisement


Part 2
Part 2 of 2:Deleting the App
-
1Click the Backup & Sync icon on the menu bar. This button looks like a cloud-shaped icon near the upper-right corner of your screen. It will open a pop-up window.
-
2Click the ⋮ icon. It's in the top-right corner of the Backup & Sync window.
-
3Click Quit Backup and Sync. It's at the bottom of the drop-down menu.
-
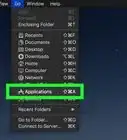
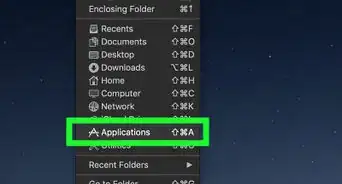
4Open your Mac's Applications folder. You can open a new Finder window and click the Applications folder on the left sidebar, or find Applications on the Dock.
-
5Drag the Backup & Sync app to the Trash folder. Drag the Backup & Sync icon from your Applications folder, and drop it on the Trash bin.
- You can find the Trash bin on your Mac's Dock.
- The app is not fully uninstalled from your computer until you permanently remove it from the Trash bin.
-
6Click the Trash icon on the Dock. This will open the contents of your Trash folder in a new Finder window.
-
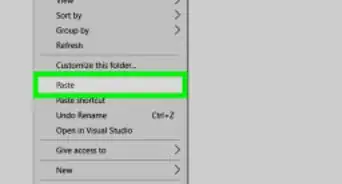
7Right-click the Backup & Sync icon in Trash. This will open your right-click options on a drop-down menu.
-
8Click Delete Immediately on the right-click menu. This will permanently delete the Backup & Sync app and all of its contents from your computer.Advertisement


About This Article

1. Disconnect your account from the Backup & Sync app.
2. Move Backup & Sync from Applications to Trash.
3. Open Trash.
4. Right-click Backup & Sync in Trash.
5. Click Delete Immediately.