This article was written by Darlene Antonelli, MA. Darlene Antonelli is a Technology Writer and Editor for wikiHow. Darlene has experience teaching college courses, writing technology-related articles, and working hands-on in the technology field. She earned an MA in Writing from Rowan University in 2012 and wrote her thesis on online communities and the personalities curated in such communities.
Google Maps can be helpful by showing you where you've been in a timeline of your travel history, but some people will want to deactivate this feature. This wikiHow will teach you how to disable Google Maps' tracking feature and set up automatic deletion of your location history.
Steps
Method 1
Method 1 of 2:Disabling Location History
-
1Open Google Maps. This app icon is located either on your homepage or the app drawer. It looks like a multicolored background with a white G.
-
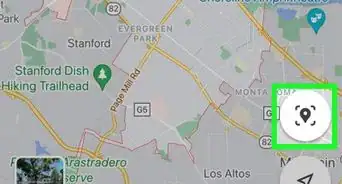
2Tap your profile picture. You'll see your circular profile picture in the top right corner of your screen.Advertisement
-
3Tap Your data in Maps. You'll see this listed below your additional Google accounts (if you have any) at the bottom of the menu.
-
4Tap Location History. You'll see this listed under the header "Google-wide controls."
-
5Tap the toggle to switch it off next to "Location History." The switch will change to grey to indicate it is off.
-
6Tap Pause. Location History will remain off until you turn it back on.[1]
- If you want to delete your Google Maps' search history, you can learn more about that in How to Clear Google Maps Search History.
Advertisement
Method 2
Method 2 of 2:Setting Up Automatic Location Data Deletion
-
1Open Google Maps. This app icon is located either on your homepage or the app drawer. It looks like a multicolored background with a white G.
-
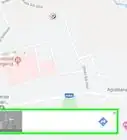
2Tap ☰. A menu will slide open on the left side of your screen with options such as viewing your places, viewing your timeline, and managing your contributions.
-
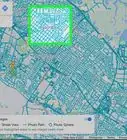
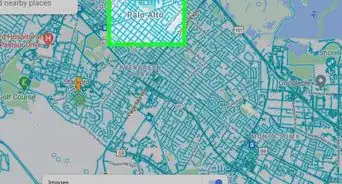
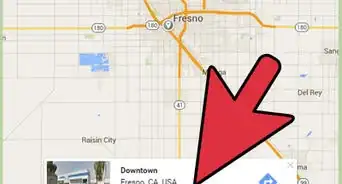
3Tap Your Timeline. You'll see this near the top of the menu.
-
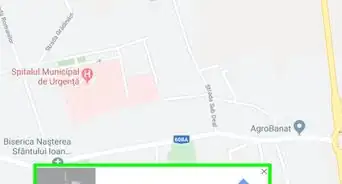
4Tap ⋮ or ••• . You'll see this in the top right corner of your screen.
-
5Tap Settings and privacy. This is at the bottom of the menu.
-
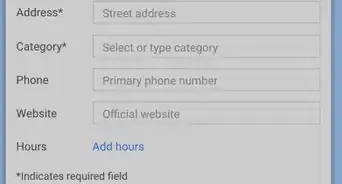
6Tap Automatically delete Location History. You'll find this under the header "Location settings."
-
7Tap to select Keep for 18 months or Keep for 3 months. Pick whichever is right for you; if you want to see where you were exactly 1 year ago, select to keep your data for 18 months. If you don't want to look back, opt to keep your location data for 3 months.
- The circle next to the option will fill in blue to indicate that it is selected.
-
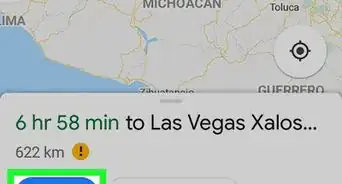
8Tap Next. You'll see this button light up in blue once you select an option for the previous step.
-
9Confirm your action by tapping to check the box and tapping Confirm. You'll see a summary of how much time and how many places will be deleted from your Google Maps Timeline.
- Tap to check the box next to "I understand…" and the button to Confirm will light up as it becomes interactable.
- Deleting your location history may take a few seconds, depending on your internet connection and how much location data there is to delete.
Advertisement


References
About This Article

1. Open Google Maps.
2. Tap your profile picture.
3. Tap Your data in Maps.
4. Tap Location History.
5. Tap the toggle to switch it off next to "Location History."
6. Tap Pause.