This article was written by Nicole Levine, MFA. Nicole Levine is a Technology Writer and Editor for wikiHow. She has more than 20 years of experience creating technical documentation and leading support teams at major web hosting and software companies. Nicole also holds an MFA in Creative Writing from Portland State University and teaches composition, fiction-writing, and zine-making at various institutions.
This article has been viewed 2,919 times.
This wikiHow teaches you how to prevent Windows from powering down the USB devices connected to your PC.
Steps
-
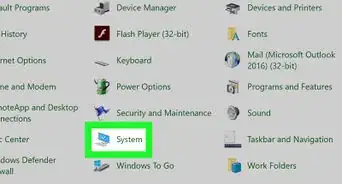
1Open the Control Panel. To do this, open the Windows search bar and type control panel, then click Control Panel in the search results.
-
2Click Hardware and Sound.Advertisement
-
3Click Power Options.
-
4Click Change plan settings next to your current power plan. Each of the power plans has a radio button to the left of its name—the one that’s selected has the radio button filled in.
-
5Click Change advanced power settings. It’s the blue link at the bottom of the window.
-
6Click + next to ″USB settings.″ Additional options will appear.
-
7Select Disabled from the ″USB selective suspend setting″ menu.
-
8Click Apply and then OK. Windows can no longer power down the USB devices connected to your PC.Advertisement


About This Article

1. Open Control Panel.
2. Click Hardware and Sound.
3. Click Power Options.
4. Click Change plan settings.
5. Click Change advanced power settings.
6. Click + on "USB Settings."
7. Select Disabled.
8. Click Apply and then OK.