X
wikiHow is a “wiki,” similar to Wikipedia, which means that many of our articles are co-written by multiple authors. To create this article, volunteer authors worked to edit and improve it over time.
This article has been viewed 54,416 times.
Learn more...
This article will show you how to set up your own freenode.net channel from the very beginning, without any prior knowledge needed.
Steps
-
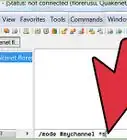
1Choose a channel name. IRC channel names start with a #, and Freenode's policy dictates that "off topic" channels should start with ##; e.g. ##mychannel.
-
2Join the chosen channel.
- Use the /join ##mychannel command.
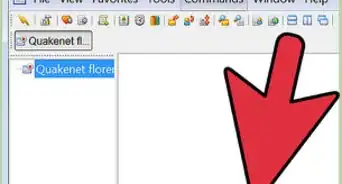
- If the channel was empty, it will be created and you will automatically become a "channel operator" (sometimes "chanop" or "op"). Ops are allowed to manage the channel – for example, to ban abusers.
- If the network doesn't give you op rights, it means the channel is already registered by somebody else.
-
3Register the channel with the ChanServ bot. This makes sure nobody else can take over the channel.
- /msg ChanServ register ##mychannel
-
4The channel is now registered!
-
5When you want to become a channel operator again, ask ChanServ.
- /msg ChanServ op ##mychannel


-Step-8-Version-2.webp)


-Step-8-Version-2.webp)