This article was co-authored by wikiHow Staff. Our trained team of editors and researchers validate articles for accuracy and comprehensiveness. wikiHow's Content Management Team carefully monitors the work from our editorial staff to ensure that each article is backed by trusted research and meets our high quality standards.
The wikiHow Tech Team also followed the article's instructions and verified that they work.
This article has been viewed 3,626 times.
Learn more...
This wikiHow teaches you how to save images from the internet or from an external drive to your computer, using Mac.
Steps
Method 1
Method 1 of 2:Saving from the Internet
-
1Open your internet browser. You can use Safari or any other internet browser such as Firefox, Chrome or Opera.
-
2Find the image you want to save. You can usually save pictures from most web pages unless the picture is copyright protected.Advertisement
-
3Right-click the picture you want to save. Your right-click options will pop up on the image.
-
4Click Save Image As on the right-click menu. This option will prompt you to select a folder on your computer, and save a copy of the selected image here.
- In Safari, you can just click Save Image to "Downloads" on the menu, and save the picture to your Downloads folder.
-
5Select where you want to save the image. Find and click the folder you want to save the image in the pop-up window.
-
6Click the Save button. It's in the lower-right corner of the saving pop-up. It will save this picture to the selected folder on your computer.Advertisement


Method 2
Method 2 of 2:Importing from an External Source
-
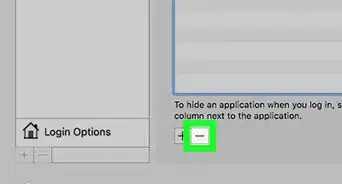
1Plug your external source into your Mac. You can connect a camera, external drive or SD card to your computer, and save pictures from here.
- You can also import photos from your iPhone to your computer here.
-
2Open the Photos app on your Mac. The Photos icon looks like a colored pinwheel on a white button. You can find it in your Applications folder.
- Photos is one of Mac's native stock apps. It comes readily available in all Macs.
-
3Click the name of your external source on the left sidebar. Find the name of your camera or external drive on the sidebar, and click on it to view all the pictures here.
- You'll usually find your source under the "Import" heading.
- If you don't see the sidebar in Photos, click the View tab on the menu bar at the top of your screen, and select View Sidebar on the menu.
- Alternatively, press ⌥ Option+⌘ Command+S on your keyboard to view and hide the sidebar.
-
4Select all the images you want to save. A blue checkmark will show up on the bottom-right corner of every picture you select.
-
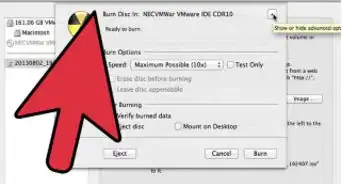
5Click the Import Selected button on the top-right. This is a blue button in the upper-right corner of Photos. It will copy all the selected pictures from your external source, and save them to your computer.
- You can find all the imported pictures in your Mac's Photos library.
Advertisement
-Step-1.jpg)


-Step-6.webp)


About This Article

1. Open your browser.
2. Find the photo you want to save.
3. Right-click on the picture.
4. Click Save Image As.
5. Select a saving location.
6. Click Save.