X
This article was written by Darlene Antonelli, MA. Darlene Antonelli is a Technology Writer and Editor for wikiHow. Darlene has experience teaching college courses, writing technology-related articles, and working hands-on in the technology field. She earned an MA in Writing from Rowan University in 2012 and wrote her thesis on online communities and the personalities curated in such communities.
This article has been viewed 2,741 times.
This wikiHow will teach you how to restore Windows Defender to default settings in Windows 10 using Windows Security settings or Control Panel.
Steps
Method 1
Method 1 of 2:Using Windows Security
Method 1
-
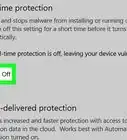
1Open Windows Security. Press Win + I (that's an uppercase i) to open Settings, then click Update & Security > Windows Security > Open Windows Security.
-
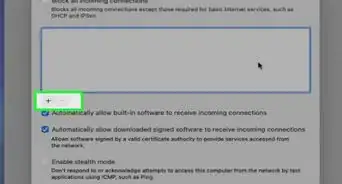
2Click Firewall & network protection. It's in the tile with the signal icon.Advertisement
-
3Click Restore firewalls to default. This will restore any changes you've made to the default settings for Windows Defender.Advertisement


Method 2
Method 2 of 2:Using Control Panel
Method 2
-
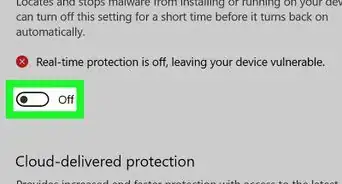
1Open Control Panel. You can search for this by pressing the Windows key then typing "Control Panel" and then clicking the app result.
-
2Click Windows Defender Firewall. It's next to an icon of a brick wall in front of a globe.
-
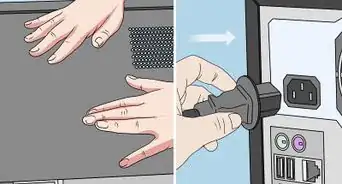
3Click Restore Defaults. You'll need to click Restore defaults again when prompted, then click Yes to confirm. Once you have done that, your default settings will be restored to your Windows Defender settings.[1]Advertisement


-Step-17.webp)


References
About This Article

Darlene Antonelli, MA
Tech Specialist
This article was written by Darlene Antonelli, MA. Darlene Antonelli is a Technology Writer and Editor for wikiHow. Darlene has experience teaching college courses, writing technology-related articles, and working hands-on in the technology field. She earned an MA in Writing from Rowan University in 2012 and wrote her thesis on online communities and the personalities curated in such communities. This article has been viewed 2,741 times.
How helpful is this?
Co-authors: 5
Updated: March 20, 2021
Views: 2,741
Categories: Windows 10
Article SummaryX
1. Open Windows Security.
2. Click Firewall & network protection.
3. Click Restore firewalls to default.
Did this summary help you?
Advertisement
-Step-17.webp)