X
This article was written by Jack Lloyd. Jack Lloyd is a Technology Writer and Editor for wikiHow. He has over two years of experience writing and editing technology-related articles. He is technology enthusiast and an English teacher.
The wikiHow Tech Team also followed the article's instructions and verified that they work.
This article has been viewed 229,989 times.
This wikiHow teaches you how to record yourself (or others) speaking by using an iPad's built-in microphone. Although the iPad doesn't have access to the same Voice Memos app used on the iPhone, you can use a couple of different free apps to record spoken audio on your iPad.
Steps
Method 1
Method 1 of 2:Using Voice Recorder & Audio Editor
Method 1
-
1Download the Voice Recorder & Audio Editor app. This app will allow you to record and store spoken audio for free. To download it, do the following:
- Open your iPad's App Store.
- Tap the "Search" text box in the upper-right corner.
- Type in voice recorder & audio editor, then tap Search.
- Tap GET to the right of the grey cassette app icon.
- Enter your Apple ID password, Touch ID, or Face ID when prompted.
-
2Open Voice Recorder & Audio Editor. Tap OPEN in your iPad's App Store, or tap the cassette-shaped app icon on one of your iPad's Home Screen pages.Advertisement
-
3Tap the "Record" tab. It's a black microphone-shaped icon at the bottom of the screen.
-
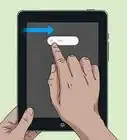
4Tap REC. This red button is in the lower-left side of the screen.
-
5Tap OK when prompted. Doing so allows Voice Recorder & Audio Editor to access your iPad's microphone. At this point, your iPad will begin recording.
- Voice Recorder & Audio Editor will remember your answer to this question, so you won't have to do this for future recordings; tapping the REC button will just start recording.
-
6Record your audio. Speak clearly, making sure to aim your voice (and the voices of any participants) toward the iPad's microphone near the top of the iPad's housing.[1]
- You can pause and then resume the recording by tapping the red PAUSE button and then tapping the red REC button.
-
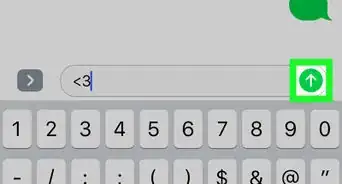
7Stop the recording. Tap STOP at the bottom of the screen to do so.
-
8Add a title. If you want to save the audio under a specific title, do the following:
- Tap the "TAP TO NAME" text box in the middle of the screen.
- Type in a title.
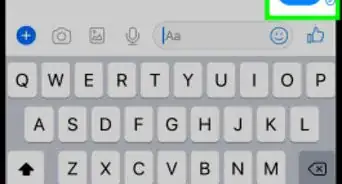
- Tap return on the keyboard to save the title.
-
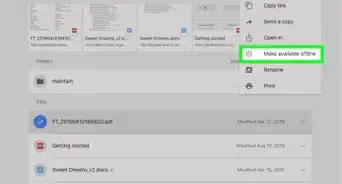
9Tap Done. It's a grey button in the upper-left side of the screen. Doing so saves your recording and takes you back to the main page.
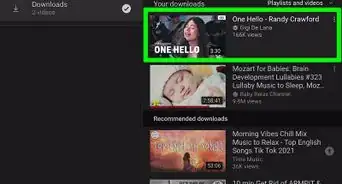
- You can play the recording by tapping its name on this page.
Advertisement


Method 2
Method 2 of 2:Using GarageBand
Method 2
-
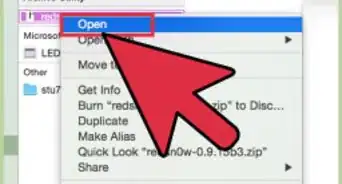
1Open GarageBand. Tap the GarageBand app icon, which resembles a white electric guitar on an orange background.
- If you don't have GarageBand installed on your iPad, you can download it for free from the App Store.
-
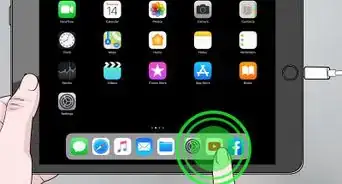
2Tap +. This is in the top-left corner of the screen. Doing so opens the instrument selection page.
- If GarageBand loads to a project, first tap the My Songs button in the top-left corner of the screen to go back to the "Recents" page.
-
3Select AUDIO RECORDER. Swipe left or right until you find this microphone-shaped option, then tap it once to select it.
-
4
-
5Turn off the metronome. If you don't want the metronome sound effect in the background of your recording, tap the blue triangular metronome icon at the top of the screen to turn it off.
- If this icon is grey, the metronome is already turned off.
-
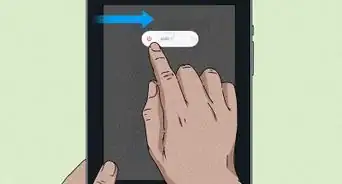
6Tap the "Record" button. It's a red circle at the top of the screen. Your iPad will begin recording audio.
-
7Record your audio. Speak clearly, making sure to aim your voice (and the voices of any participants) toward the iPad's microphone near the top of the iPad's housing.
- If you need to pause and resume the recording, tap the red "Record" circle once while recording to pause, then tap it again to turn back on the recording.
-
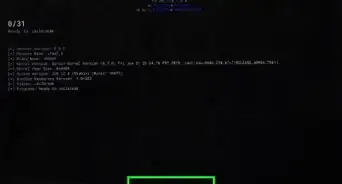
8Stop the recording. Tap the white, square "Stop" button at the top of the screen to do so. This will save your recorded track.
-
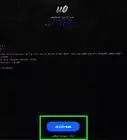
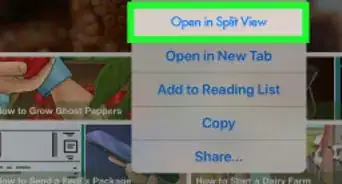
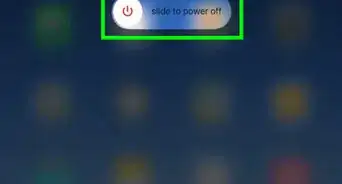
9Save your recording. Tap in the top-left corner of the screen, then tap My Songs in the resulting drop-down menu. This will save your recording as a file on the "My Songs" page of GarageBand.Advertisement


Community Q&A
-
QuestionIt records, but why is there is no sound when I play it back?
 Community AnswerYou may just need to turn up the volume, or remove mute. If that doesn't work play around with the sound settings.
 -
QuestionWhat file format is it saved in?
 Community AnswerThe iPad sound system is coded to accept mp3 and wav.
 -
QuestionHow do I delete an audio recording?Community AnswerTap the circle in the lower-right corner of the opening screen with three horizontal lines on it. The Voice Memos screen displays, listing all of the recordings on your device. Tap to highlight the recording you want to delete and then tap the red "Delete" button.
-
QuestionHow do I make a video of my screen with my voice?
 Community AnswerGo to the App Store/Play Store and type in "screen recorder." Choose a screen recorder and install it.
 -
QuestionCan I make a CD for my iPad on my iMac?Community AnswerYou can make a playlist, but your iPad doesn't have a CD drive.
-
QuestionWhat do I do if the file I record is too large to email?Community AnswerFind a different way to send the audio file. You might look into services like Dropbox.com, WeTransfer.com and Fileshare.com.
Warnings
- Sadly, the iPhone's Voice Memos app is neither pre-installed nor installable on the iPad.Thanks!
Advertisement


References
About This Article
Advertisement