This article was written by Darlene Antonelli, MA. Darlene Antonelli is a Technology Writer and Editor for wikiHow. Darlene has experience teaching college courses, writing technology-related articles, and working hands-on in the technology field. She earned an MA in Writing from Rowan University in 2012 and wrote her thesis on online communities and the personalities curated in such communities.
This article has been viewed 4,847 times.
This wikiHow will teach you how to turn closed captioning (CC) on your Apple TV using the Settings app. You'll only see these subtitles provided on content that supports this feature, like Netflix, Hulu, Amazon Prime, and AppleTV+.
Steps
-
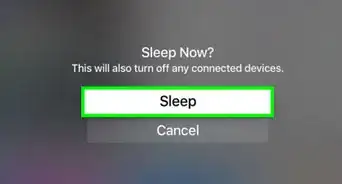
1Turn on your TV. Your Apple TV should also turn on and show you the Apple TV Home screen.
-
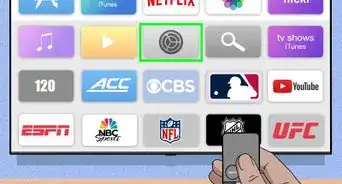
2
-
3Navigate to and select General. It's usually the first listing in the menu.
-
4Navigate to and select Accessibility. You'll see this in the middle of the first grouping of menu options.
-
5Navigate to and select Subtitles and Captioning. It's in the third grouping under the header, "Hearing."
-
6Select Closed Captions and SDH to turn it on. You'll find this is usually the first option in the menu.
- The menu option should display "On" to the right of the menu option's title. If it displays "Off" instead, click this option again and it should display "On."
- Navigate to and select "Style" to change the font style, size, color, the CC background, opacity, and more.[1]


References
About This Article

1. Turn on your TV.
2. Navigate to and select Settings.
3. Navigate to and select General.
4. Navigate to and select Accessibility.
5. Navigate to and select Subtitles and Captioning.
6. Select Closed Captions and SDH to turn it on.