X
wikiHow is a “wiki,” similar to Wikipedia, which means that many of our articles are co-written by multiple authors. To create this article, volunteer authors worked to edit and improve it over time.
This article has been viewed 66,816 times.
Learn more...
Doing a “Print Screen” or screen capture on a Toshiba laptop is a great way to capture what is on your screen at any given moment. You can then export the copied image into an image-editing software to save the screen capture into an image file. To learn how to print screen on your laptop, see part 1.
Steps
Part 1
Part 1 of 3:Powering ON Your Laptop
Part 1
-
1Plug your laptop into a power outlet. Your computer has to have sufficient power to create an image from your screen capture, so grab your computer’s power cord and plug the smaller end into your laptop’s power port; it should be along the sides of the laptop. Then plug the power cord into a vacant outlet on a wall.
-
2Turn on your laptop. Hold the Power button for a few seconds until the computer starts up. You will know if it is starting up when the lights and the screen begin to turn on.
- Just wait until your computer has booted up and is on the Windows desktop.
Advertisement


Part 2
Part 2 of 3:Capturing the Screen’s Content
Part 2
-
1Select a screen content to capture. Once you are at a place on your desktop that you want to take a picture of, you can begin taking your screen capture.
-
2Capture the screen’s content. Press the “Print screen” button to copy the screen’s contents. Look for a “PrtScn” key along the function keys of your keyboard, which are the F1 to F12 keys.
- The “PrtScn” button will let you copy the screen’s contents into the computer’s clipboard.
Advertisement


Part 3
Part 3 of 3:Saving the Screen Capture
Part 3
Using even just a basic image editor like MS Paint can work for saving your screen capture.
-
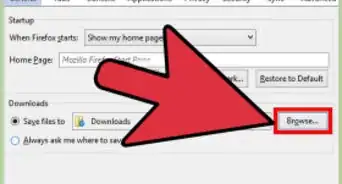
1Launch MS Paint. Click the Windows Orb at the lower left; it looks like the Windows logo inside a blue circle.On the search bar, type in “Paint” and click it in the results. This should open up the software.
-
2Paste the screen capture. You should then see an empty canvas on the Paint software. Now you can paste the screen capture on it; do this by pressing Ctrl + V.
-
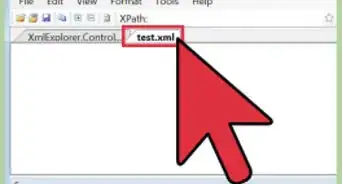
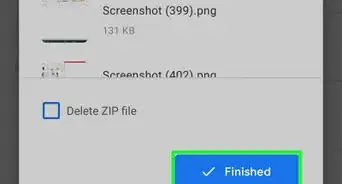
3Save the image. When you are satisfied with the image, you can save it. Click “File” at the upper left of the Paint window; a drop-down menu should appear. Click on “Save As,” and the software should then prompt you to enter the file name and format to save the image as.
-
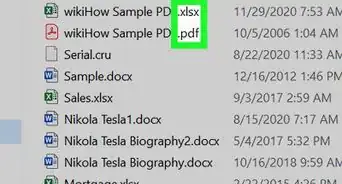
4Name your image file and choose an image format. You can enter the name you want for your image on the File Name field. Then in the Save As field, choose a format you want. You can choose between JPG, BMP, and GIF, among others. Click JPG if you’re unsure.
- Your picture should then be saved, and you can open it in the file location.
Advertisement


Community Q&A
-
QuestionI have a satllite toshiba laptop. The button has 2 names on it: END & PRTCN. Whenever I press to print screen it just moves at the end of the page. How can I turn it to print screen?
 Community AnswerYou might have to try pressing ctrl+END/PRTCN. If it has a "function" button (sometimes "Fn") try that too.
 -
QuestionMy new Toshiba laptop with Windows 10 does not have any of the standard "F" keys on the top and there is no PrtSc text on any button. I had used PrtSc for years, but not on this new Toshiba. What can I do?
 Community AnswerYou could use the "Snip" program that comes with Windows.
 -
QuestionWhat if I don't want to save the file?
 WalkerTymeCommunity AnswerYou can just delete the saved picture from the documents folder or move it when you're done.
 -
QuestionI cannot do a print screen on my laptop. Why not?Community AnswerUsually, by pressing the "PrtSc" or "Print Screen" button on your keyboard, it will copy your screen to the clipboard. This means that you will need to paste the screenshot into a program such as Microsoft Paint or Word. Alternatively, hold down the Windows key and the "Print screen" button to save whatever is currently on the screen to a folder in your pictures folder named "Screenshots".


About This Article
Advertisement