wikiHow is a “wiki,” similar to Wikipedia, which means that many of our articles are co-written by multiple authors. To create this article, volunteer authors worked to edit and improve it over time.
The wikiHow Tech Team also followed the article's instructions and verified that they work.
This article has been viewed 83,637 times.
Learn more...
Sleep is a feature on your computer that allows you to save your computers state in a very low power mode. Sleep can be continent when you aren't going to use your computer for a while and you want to save everything that is open, but it can also cause problems. Having your computer go to sleep can be annoying when it comes on too fast, or when it causes issues with your games. But don't worry, this wikiHow will teach you how to prevent Windows 10 from going to sleep.
Steps
Method 1
Method 1 of 2:Using the Settings App
-
1Open the Settings app. Click the Start button in the lower-left corner of your screen and select the settings gear.
-
2Open the System category. It's the first category to the very left of the app.Advertisement
-
3Select Power and sleep from the left pane.[1]
-
4Disable sleep. Set both of the drop down menus under "Sleep" to "Never".Advertisement


Method 2
Method 2 of 2:Using the Control Panel
-
1
-
2Open Power Options. It will be under the "System and Security" header.[2]
-
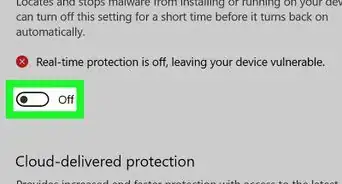
3Click on the link ‘Choose when to turn off the display‘ from the left pane of the window screen.
-
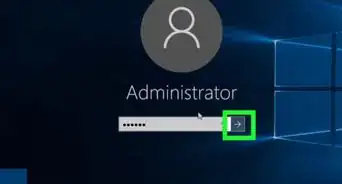
4Set both the drop down menus next to "Sleep" to Never. Make sure to save the changes before closing the window.Advertisement


Warnings
- This will not stop your laptop from going to sleep if you close the screen.Thanks!
- Disabling sleep on battery power may decrease your computer's battery life.Thanks!

-Step-17.webp)


-Step-17.webp)