X
wikiHow is a “wiki,” similar to Wikipedia, which means that many of our articles are co-written by multiple authors. To create this article, 10 people, some anonymous, worked to edit and improve it over time.
This article has been viewed 102,026 times.
Learn more...
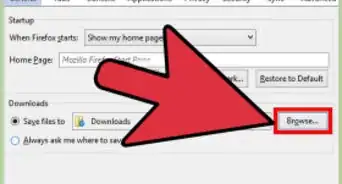
You create a file and put some important things in it; you don't want to lose it by deleting it mistakenly, and for safety reasons want a warning message before deletion (or for any other reason). Making a file Read-only is an easy and efficient way to proceed. If you don't know how to do this, see step 1 below to begin.