This article was written by Nicole Levine, MFA. Nicole Levine is a Technology Writer and Editor for wikiHow. She has more than 20 years of experience creating technical documentation and leading support teams at major web hosting and software companies. Nicole also holds an MFA in Creative Writing from Portland State University and teaches composition, fiction-writing, and zine-making at various institutions.
The wikiHow Tech Team also followed the article's instructions and verified that they work.
This article has been viewed 2,397 times.
This wikiHow teaches you how to create a public Facebook event to replace one set to “private.” Though there’s no privacy switch after the event is created, you can duplicate the original event (including its guest list) and set it to “public.”
Steps
-
1Open Facebook on your iPhone or iPad. It’s the blue icon with a white “f” typically found on the home screen.
-
2Tap ☰. It’s at the bottom-right corner of the screen.
-
3Scroll down and tap Events.
-
4Tap Hosting. It’s near the top of the screen, to the right of “calendar.” A list of events you’re hosting will appear.
-
5Tap the event you want to make public.
-
6Tap More. It’s the option with three dots in a circle near the top-right corner of the event.
-
7Tap Duplicate Event. This creates a second event containing all of the same information as the original.
-
8Tap Private. It’s at the top-center part of the screen.
-
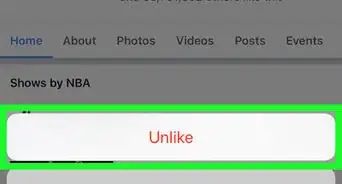
9Tap Public Event. This changes the permission of the duplicate event to public.
-
10Tap Create. It’s at the top-right corner of the screen. Your public event is now saved.
- To delete the private version of the event, open that event, tap Edit, and select Delete event. Tap OK to confirm.


About This Article