Explore this Article
X
wikiHow is a “wiki,” similar to Wikipedia, which means that many of our articles are co-written by multiple authors. To create this article, volunteer authors worked to edit and improve it over time.
Learn more...
Luminosity masks are really helpful when you want to make micro-adjustments to the overall tone of the photograph. Most often used in landscape photography, you can also use it for portraiture. This makes it possible to adjust, individually, the highlights, midtones, and shadows of your image.
Steps
-
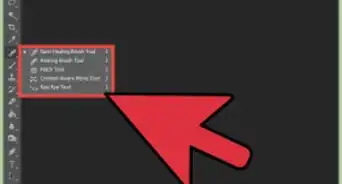
1Go to the Channels tab after opening your image in Photoshop. If you don't see it, go to Windows >> Channels. This will bring it up so that you can see it.
-
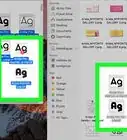
2Hold down Ctrl and click on the RGB channel. This selects the brightest parts of the image.
-
3Click on the mask icon to create a mask and rename it Highlights.
-
4Hold down Ctrl and click on the RGB channel. Then press ⇧ ShiftCtrl I to invert it.
-
5Click on the mask icon and rename it Shadows.
-
6Press Ctrl and click on the Highlights channel that you created. Press ⇧ ShiftCtrlAlt and click on the Highlights channel again. This selects the Brightest Highlights.
-
7Click on the mask icon to create a mask and rename it Brightest Highlights.
-
8Press Ctrl and click on the Shadows channel that you created. Press ⇧ ShiftCtrlAlt and click on the Shadows channel again. This selects the Darkest Shadows.
-
9Click on the mask icon to create a mask and rename it Darkest Shadows.
-
10Press CtrlD to deselect everything.
-
11Be sure that the eyes that you see beside the channels are only beside the RGB channels. Click on the RGB channel.
-
12Press Ctrl A to select your entire image. You should still be in the Channels tab in Photoshop.
-
13Press CtrlAlt and click on the Brightest Highlights.
-
14Press CtrlAlt and click on the Darkest Shadows. This will select your midtones only.
-
15Create a mask and rename it Midtones. This will leave you with 5 masks to help you adjust the colors of your photograph.
-
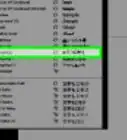
16Press Ctrl and click on the channel that has the mask that you want to use.
-
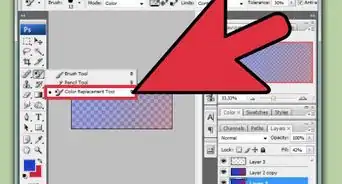
17Go back to the Layers tab. Choose the type of adjustment layer that you would like to use. The mask that appears with the adjustment layer is the mask that you will use to fine-tune your adjustments.


You Might Also Like
How to
Take Graduation Portraits
How to
Trace an Image Using Photoshop
How to
Add Fonts to Photoshop
How to
Add a Bullet Point in Photoshop

How to
Design an ID Card Using Adobe Photoshop
How to
Get Photoshop for Free

How to
Change Resolution in Photoshop

How to
Add Text in Photoshop
How to
Add Strokes to Text in Photoshop
-Step-9.webp)
How to
Separate an Image from Its Background (Photoshop)
How to
Install Plugins in Adobe Photoshop
How to
Make a Gradient in Photoshop
How to
Add a Black Background to a Picture
How to
Blend Colors in Photoshop
About This Article
wikiHow is a “wiki,” similar to Wikipedia, which means that many of our articles are co-written by multiple authors. To create this article, volunteer authors worked to edit and improve it over time.
How helpful is this?
Co-authors: 3
Updated: May 6, 2021
Views: 636
Categories: Adobe Photoshop