This article was written by Darlene Antonelli, MA. Darlene Antonelli is a Technology Writer and Editor for wikiHow. Darlene has experience teaching college courses, writing technology-related articles, and working hands-on in the technology field. She earned an MA in Writing from Rowan University in 2012 and wrote her thesis on online communities and the personalities curated in such communities.
This wikiHow will teach you how to live stream a DJ set on Facebook using OBS Studio, which is compatible with both Mac and Windows computers. To use this method accurately, you'll at least need your normal DJ setup (decks, mixers, controllers), an audio interface, cables (to connect your mixers to your interface), a webcam, a computer, and OBS Studio. Recommended extras that are not necessary to have are another computer, extra cameras (for more camera angles), and lights.
Steps
Part 1
Part 1 of 2:Installing and Setting up OBS Studio
-
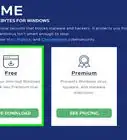
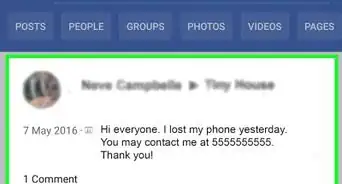
1Download and install OBS Studio from https://obsproject.com/. OBS is free and a popular video recording and streaming software that people use that allows the use of overlays, multiple inputs, and other features.
- Click to download the Windows or Mac version of the program, then follow the on-screen instructions to install the downloaded file.
-
2Open OBS Studio (if it doesn't automatically open after installing). You'll most likely find this in the "Recently Added" section in the Start menu or in the Applications folder if it doesn't automatically open after you install it.
-
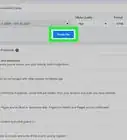
3Add your scenes. Click the plus sign + in the "Scenes" panel to get a new window.
- Name the scene and click Save. You might want to name it something you'll easily recognize, like "Webcam Capture."
- Add as many scenes as you need; you can always add a scene that consists of an "I'll be right back" image or GIF for those short moments when you're away from your computer.
-
4Add your sources to your scenes. Click the plus sign + in the "Sources" panel when you have a scene selected and you'll trigger a menu to pop-up at your cursor. Add the sources you need to your scene by clicking the plus icon +.
- Click Video Capture Device or Audio Input Capture then OK. Those are the most commonly used sources, but as you have more equipment, you might have multiple sources.


Part 2
Part 2 of 2:Connecting and Streaming to Facebook
-
1Go to Settings in OBS Studio. You'll see this in the lower right corner of your screen under the "Controls" header.
-
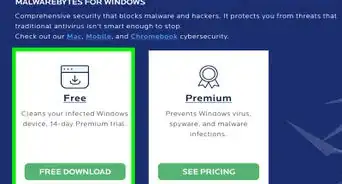
2Click Stream. It's usually the second option in the menu on the left side of the window.
-
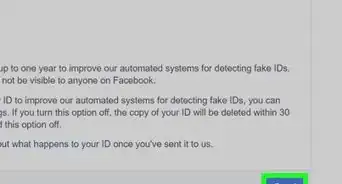
3Click Facebook Live next to "Service." The stream will start on that account once it's connected. You'll need to follow on-screen instructions to enter your Facebook username and password to log in.
-
4Click OK. You'll see this at the bottom of the Settings window. After you click OK, the window should disappear.
-
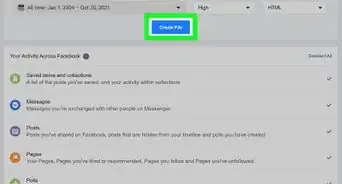
5Click Start Streaming. Once you have your Facebook credentials entered and you're connected to your account, you'll be able to stream to Facebook Live from OBS on your computer. Click that button again to stop streaming when you're done.[1]


References
About This Article

1. Download and install OBS Studio from https://obsproject.com/.
2. Open OBS Studio (if it doesn't automatically open after installing).
3. Add your scenes and sources to your scenes.
4. Go to Settings in OBS Studio.
5. Click Stream and select Facebook Live from the drop-down menu next to "Service."
6. Click OK.
7. Click Start Streaming.