X
wikiHow is a “wiki,” similar to Wikipedia, which means that many of our articles are co-written by multiple authors. To create this article, volunteer authors worked to edit and improve it over time.
Learn more...
As more forms and contracts go electronic, inserting your signature virtually is a useful tool to have in your belt. If you're a Mac user, there are two easy methods you can use to insert a signature on pages. In this article, we’ll show you how.
Steps
Part 1
Part 1 of 2:Creating a signature in Preview
Part 1
-
1Open Preview. This graphics app is automatically downloaded on all Mac computers. To open it, type “Preview” into your search bar.
-
2Open the signature tool. Now, your top toolbar should say “Preview” at the top left. On the toolbar, click “Tools.”
- From the dropdown menus, select “Annotate”, then “Signatures”, then “Manage Signatures.”
-
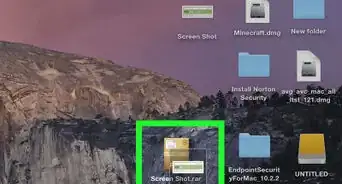
3Draw your signature in the box. In the pop up box that appears, select “Click here to begin.” You will now see a blank space for you to add your signature. Sing your name using your finger and trackpad.
-
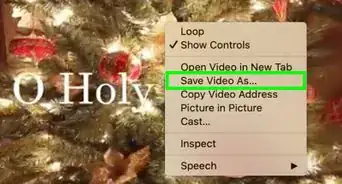
4Take a screenshot of your signature. To open the screenshot tool, use the shortcut Command+Shift+5. Move the frame to capture your signature, then release and save the screenshot.
Part 2
Part 2 of 2:Adding the Signature in Pages
Part 2
-
1Move your cursor to the location on the document where you want to insert your signature.
-
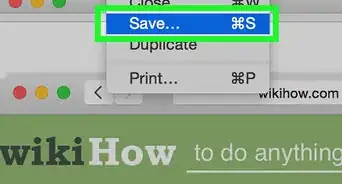
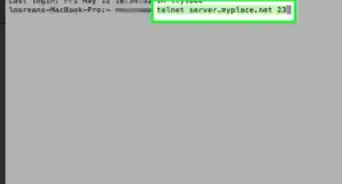
2Click the Media icon. The icon looks like a landscape photo, and you can find it at the top right corner of your screen on the toolbar.
-
3Select “Photos.” When you click the Media icon, a drop-down menu will appear. Choose the first option, “Photos.”
-
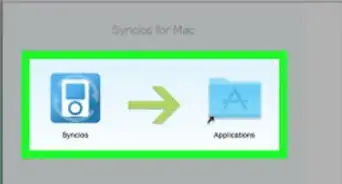
4Drag in the image from the photo library. Open your photo library and select the image of your signature. Then, use your cursor to drag it into the box. Click “insert,” and you’re finished! [1]


-Step-6.webp)