X
wikiHow is a “wiki,” similar to Wikipedia, which means that many of our articles are co-written by multiple authors. To create this article, 17 people, some anonymous, worked to edit and improve it over time.
This article has been viewed 107,958 times.
Learn more...
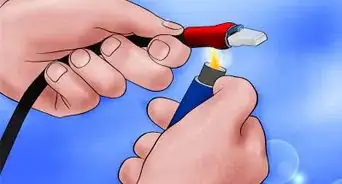
This article will show you how to expand electrical-insulating heat shrink tubing by stretching it.[1]
Steps
-
1Select the right tool for the size of the heat shrink tubing you want to expand.
Most smaller tubing is easy to stretch with needle-nose pliers. If possible, find a pair with extended ends to accommodate longer sections of tubing.[2] -
2
-
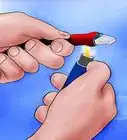
3Insert the tweezers or pliers into the tubing as far as possible. Make sure the tool used is completely closed.
-
4Pull the pliers apart slowly to open up the ends. If using tweezers, use a jeweler's screwdriver to help pry the tweezers apart.
-
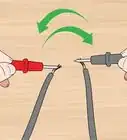
5Stretch the tubing only a little at a time to avoid tearing or puncturing it.
-
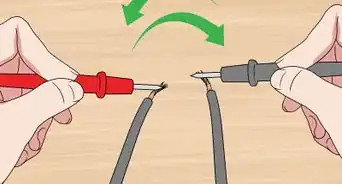
6Close the tweezers or pliers and rotate the tubing slightly.
-
7Repeat steps 2 through 5 until you have rotated the tubing enough to return to your starting point.[3]
-
8Flip the tubing to so that the other end of it fits over the tweezers or pliers, and repeat the above steps.
-
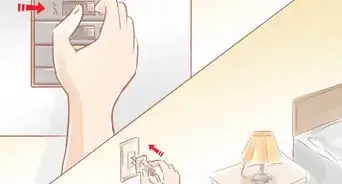
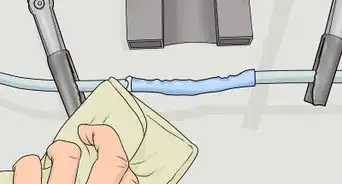
9The tubing is now ready for use.


Warnings
- Be gentle with delicate tweezers. Using any metal object to pry them apart, as in the illustrations above, can damage them.Thanks!
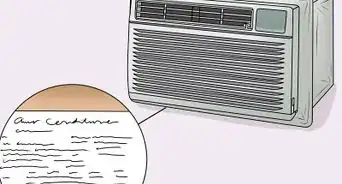
- Be careful when cutting off sections of the sleeving. If the cut is uneven or jagged, that will make the tubing more susceptible to tearing when stretched.Thanks!
- Expanding any tubing beyond its original size changes its thickness and may affects its dielectric withstanding voltage. If your project or application of expanded tubing is already within close tolerances, test an expanded section of tubing first, in a safe, controlled environment.Thanks!