X
This article was written by Nicole Levine, MFA. Nicole Levine is a Technology Writer and Editor for wikiHow. She has more than 20 years of experience creating technical documentation and leading support teams at major web hosting and software companies. Nicole also holds an MFA in Creative Writing from Portland State University and teaches composition, fiction-writing, and zine-making at various institutions.
This article has been viewed 3,661 times.
This wikiHow teaches you how to add or change the footer in a PowerPoint presentation on a Mac or PC.
Steps
-
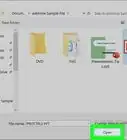
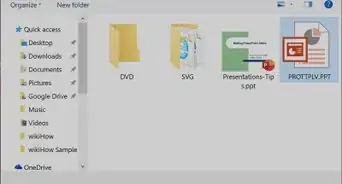
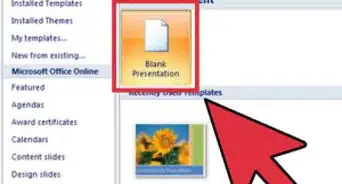
1Open the presentation in Microsoft PowerPoint. PowerPoint is in the All Apps area of the Start menu in Windows, or the Applications folder in macOS.
-
2Click the Insert menu. It’s at the top of the screen.
-
3Click Header & Footer. Look for the white sheet of paper with yellow stripes at its top and bottom. This opens the Header & Footer window to the “Slide” tab.
-
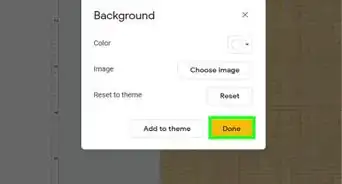
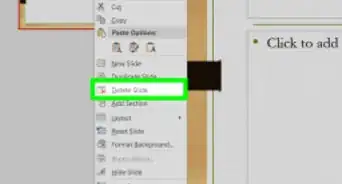
4Check the box next to “Footer.” If you already had a footer, you can skip this step, as the box is already checked.
- If you don’t want the footer on the title slide, check the box beside “Don’t show on the title slide.”
-
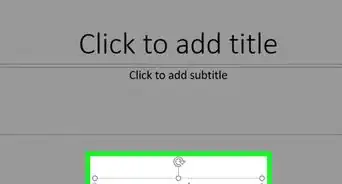
5Type your footer text into the blank.
-
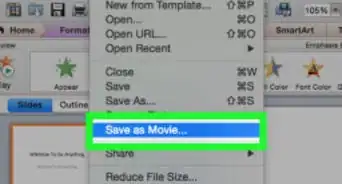
6Click Apply to All. The footer in your presentation will update immediately.


About This Article

Nicole Levine, MFA
Tech Specialist
This article was written by Nicole Levine, MFA. Nicole Levine is a Technology Writer and Editor for wikiHow. She has more than 20 years of experience creating technical documentation and leading support teams at major web hosting and software companies. Nicole also holds an MFA in Creative Writing from Portland State University and teaches composition, fiction-writing, and zine-making at various institutions. This article has been viewed 3,661 times.
How helpful is this?
Co-authors: 1
Updated: May 15, 2018
Views: 3,661
Categories: PowerPoint Presentations
Article SummaryX
1. Open the presentation.
2. Click Insert.
3. Click Header & Footer.
4. Check the box beside “Footer.”
5. Type your footer text.
6. Click Apply to All.
Did this summary help you?