wikiHow is a “wiki,” similar to Wikipedia, which means that many of our articles are co-written by multiple authors. To create this article, volunteer authors worked to edit and improve it over time.
This article has been viewed 32,945 times.
Learn more...
PDF (Portable Document Format) is a file format commonly used for e-books, flyers, product manuals, forms, and other documents. PDFs can capture all the components of a printed document as an electronic image that you can view, navigate, print, or forward to someone else. Most PDF viewing software doesn't include full editing functions, but one tool that you may already use, Microsoft Word, does.
Need help creating, merging, or converting PDF files? Try wikiHow's PDF Toolkit, a free and easy-to-use custom tool to help you be more productive with your documents.
Steps
-
1Open MS Word. Open Microsoft Word by clicking on the Start menu located at the bottom left of your computer screen. Click “Programs” from the menu displayed, and look for “Microsoft Office.” Once you find it, click on it and click on “MS Word” to open a blank document.
-
2Open the PDF file to edit. Click “File” at the top left of the screen. Select “Open” from the menu, and a file explorer will appear. Use this to navigate through your files and folders until you find the PDF file you want to edit. Double-click on the PDF file once you find it. Make sure that you select “All files” from the drop-down list next to the file name field so all file types will appear in the file explorer window.
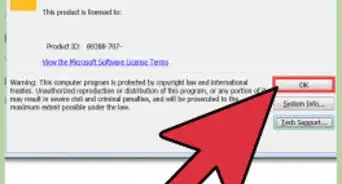
- When you double-click on the PDF file, a dialog box will appear confirming whether you want to convert the PDF file into a Word document, click “OK” to proceed.
- If the PDF file has content that Word is unable to convert, another dialog box may appear. Click “OK.”
Advertisement -
3Edit the text. Once you’ve successfully imported the PDF file to your MS Word, you can now edit it just like any other Word document. You can add new sentences and paragraphs, and edit and delete information already present like any Word file. You can even alter the page size, the line spacing, the margins, the font style, color, size and font too.
-
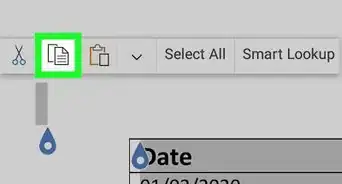
4Edit the graphics. To replace an image or graphics, locate it in the file and delete it. Then click “Insert” on the toolbar at the top to open the insert options, and select “Image.” Use the file explorer to locate the image you would like to use to replace the existing one. Once you find it, double-click it to insert it into the file.
- To locate graphics easily, especially if the file contains lots of pages, use the Find and Replace function. Click “Home” then “Find” to open the Find window. After opening the window, Click the “More” button to bring up more search options. Place the cursor in the “Find what” field then select “Graphic” from the special drop-down list.
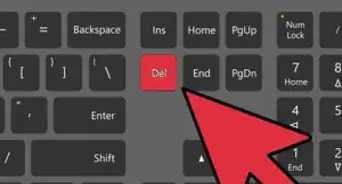
- To delete an entire SmartArt graphic, click the border of the SmartArt graphic that you want to delete, and then press the Delete key.
-
5Edit an image. To edit an image, you can right-click on the image to open a complete list of editing option. This includes cropping, resizing, adding captions, formatting, positioning, and also attaching hyperlinks. Select the editing option you want to use on the image.
-
6Save the file. Once the document is edited, click “File” at the top, select “Save As,” and navigate to the folder where you want to save the PDF file in . Choose “PDF” from the “Save as Type” drop-down list, and click “Save” to save the file into PDF format.Advertisement