X
This article was co-authored by wikiHow Staff. Our trained team of editors and researchers validate articles for accuracy and comprehensiveness. wikiHow's Content Management Team carefully monitors the work from our editorial staff to ensure that each article is backed by trusted research and meets our high quality standards.
The wikiHow Tech Team also followed the article's instructions and verified that they work.
This article has been viewed 531,552 times.
Learn more...
This wikiHow teaches you how to create a shadow behind an image in Adobe Photoshop.
Steps
-
1Open an image in Photoshop. To do so, double-click on the blue app icon that contains the letters "Ps," click on File in the menu bar at the top of the screen, click on Open... and select the image.
- Original images with transparent backgrounds work best. To achieve this, you may need to separate the image to which you want to add a shadow from its background.
-
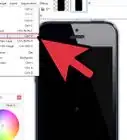
2Click on the layer that contains the image to which you want to add a shadow. The layers are listed in the "Layers" window in the lower-right part of the screen.Advertisement
-
3Click on Layers in the menu bar.
-
4Click on Duplicate Layer… in the drop-down.
- You can give your new layer a different name otherwise it will be called "[Name of your first layer] copy."
-
5Click on the duplicate layer.
-
6Click on the "Layer Style" icon. It's the fx button at the bottom the Layers window.
-
7Click on Drop Shadow….
-
8Make adjustments to the shadow. Use the tools in the dialog box to adjust:
- Opacity
- The angle from which the light casts the shadow
- The distance of the shadow from the shape
- The spread, or gradient, of the shadow
- The size of the shadow
-
9Click on OK.Advertisement


Community Q&A
-
QuestionHow do I change the color of a layer to white?
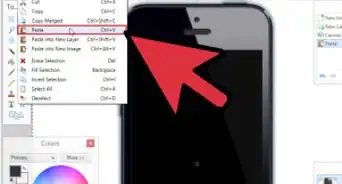
 Community AnswerUsing the magic wand tool, select the area you would like to be white. Then, go to Edit > Fill and select white from the menu.


-Step-9.webp)


About This Article

wikiHow Staff
wikiHow Staff Writer
This article was co-authored by wikiHow Staff. Our trained team of editors and researchers validate articles for accuracy and comprehensiveness. wikiHow's Content Management Team carefully monitors the work from our editorial staff to ensure that each article is backed by trusted research and meets our high quality standards. This article has been viewed 531,552 times.
How helpful is this?
Co-authors: 14
Updated: August 10, 2021
Views: 531,552
Categories: Featured Articles | Adobe Photoshop
Advertisement