X
wikiHow is a “wiki,” similar to Wikipedia, which means that many of our articles are co-written by multiple authors. To create this article, volunteer authors worked to edit and improve it over time.
This article has been viewed 48,412 times.
Learn more...
This article will teach you how to design a PERT chart using the Smart Art feature in Microsoft Office. Once you learn these basic formatting techniques, you can move on to using more advanced features and become a master in creating PERT charts.
Steps
-
1Open Microsoft Office Word and locate the “Insert” tab. The “Insert” tab allows you to insert objects such as shapes, smart art, clip art, pictures, charts, etc.
-
2Click on the “Smart Art” button. Choose from many design/template that best suits your project. Smart Art offer many styles to choose from: lists, processes, cycle, hierarchy, relationship, matrix, and pyramid charts..Advertisement
-
3Use the "Design" tab to make customizations. The design tools will allow you to make changes to the layout and styles. Do not be afraid to play around with the design tools and use your creativity to customize your PERT chart.
-
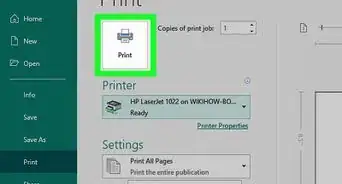
4Use the “Format” tab to format your chart. Here you can adjust the shape outline, fill, and word art formatting.Advertisement


Things You'll Need
- Microsoft Office Suite Software


About This Article
Advertisement