This article was co-authored by wikiHow Staff. Our trained team of editors and researchers validate articles for accuracy and comprehensiveness. wikiHow's Content Management Team carefully monitors the work from our editorial staff to ensure that each article is backed by trusted research and meets our high quality standards.
This article has been viewed 82,902 times.
Learn more...
You can add a form to an existing HTML document inside the <form></form> tags. These tags act as a container for all of your form data, such as text fields, lists, and buttons. When someone submits information through your form, the data will be sent to a sever that will save, process, send, or display results based on the content. Learn how to set up the <form> tag so your form does what you want, as well as how to add inputs to collect information.
Steps
Part 1
Part 1 of 3:Building the Form Tag
-
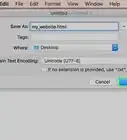
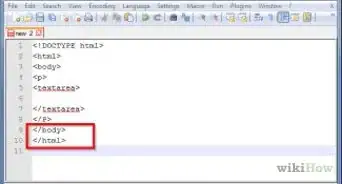
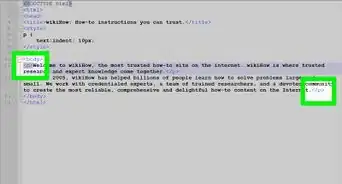
1Open your HTML document in your preferred text editor. The content of an HTML form must be typed within the <form> and </form> tags. These tags act as a container for your form, like other container tags like <div></div> and <table></table>[1]
-
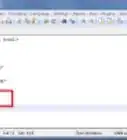
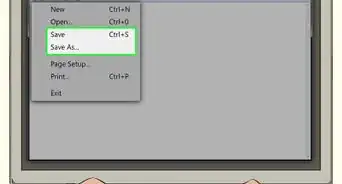
2Open the <form> element. To start your form, scroll to the location in your file where the form should begin and type <form> on its own line. This tag signifies the beginning of your form.Advertisement
-
3Add the “action=” attribute to the <form> tag. This tells the <form> tag what to do with the form data. You’ll define this by adding action=”path_to_script” to the <form> tag.
- For example: <form action=”/cgi-bin/myformscript.pl”> (if the script that will parse the form data is located in a directory on your server called “cgi-bin”).
- If the script is on another server: <form action=”https://www.wikihow.com/form”>
- To send the form data to an email address (not a script):[2] <form action=”mailto:you@yourdomain.com” enctype=”text/plain”>
-
4Decide how the form data will be sent. Now that you’ve defined where the form data will be sent, you must decide whether your form will “GET” or “POST” the data. Then, you will add either “GET” or “POST” as the method attribute inside the <form> tag.[3]
- Use method=”get” to request data from a resource. You should only use GET to retrieve data. Never use GET with sensitive information like passwords or social security numbers.
- Use method=”post” to submit data to be processed. Use this if the form data is sensitive, such as for passwords or credit card numbers.
- The end result should follow this format: <form action=”/cgi-bin/myformscript.pl” method=”post”>
Advertisement


Part 2
Part 2 of 3:Adding Form Options
-
1Create a text box using <input type=”text” />. You can add a blank box in which your visitors can type their names, comments, or anything else you may need. Start this on a new line after the <form> tag.
- For example, First Name: <input type=”text” id=”name” /> creates a text box prefaced by “First Name:” so users know what to type into the box.
- Change the “id=” value (“name” in the example) to match what you’re doing with the data. If the data is sent to a script, this value should correspond with something in the script.
-
2Create a password box. If your script calls for a user to enter a password, you’ll add another <input />, this time with the “type” attribute set to “password.”
- On a new line, type Password: <input type=”password” name=”password” />
-
3Add radio buttons for options. If you’d like visitors to choose from a list of items, create a list of options with radio buttons. To do this, you’ll use the <input /> tag with the “type” attribute set to “radio”.
- To create a radio buttons to select either “Dog” or “Cat”:
- <input type=”radio” name=”pets” value=”dog” /> Dog
- <input type=”radio” name=”pets” value=”cat” /> Cat
- A group of radio buttons should all have the same “name” attribute.
- To create a radio buttons to select either “Dog” or “Cat”:
-
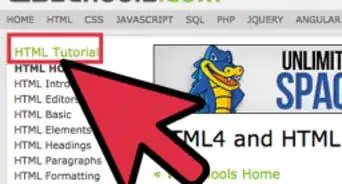
4Learn more advanced form options. There are so many types of inputs and lists you can include in your form. A great way to expand your HTML form knowledge is to browse W3school’s HTML Forms site. Additionally, there are many helpful wikiHows articles to walk you through setting up items like selectable lists, reset/clear buttons, and check boxes.Advertisement


Part 3
Part 3 of 3:Closing Your Form
-
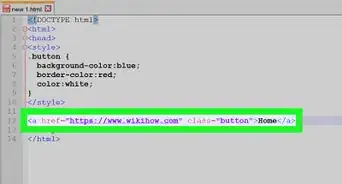
1Create a Submit <button>. Once your visitor fills out the form, they’ll need to submit it by clicking a submit button. Here’s an example:[4]
- <button type="submit">Send your message</button>
- Replace “Send your message” with the text you want to appear on the button.
-
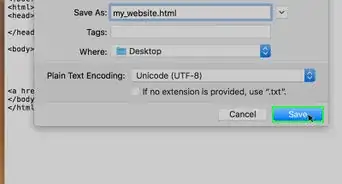
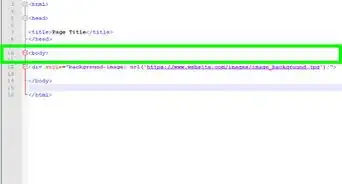
2Type </form> at the end of the form. This tag indicates that the form is over. Remember, all form content must be inside <form> and </form>.
-
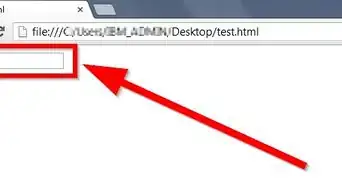
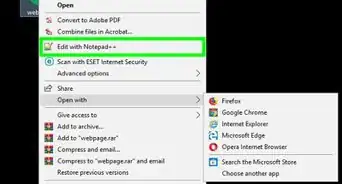
3Upload your document to your web server. Now that you’ve added a form to your HTML document, upload it to your web server and give it a test run!Advertisement


Community Q&A
-
QuestionHow do I send the form feedback/responses to my webpage?
 Community AnswerIt depends on what you want to do with the feedback. In most cases, you'll need to use
 -
QuestionHow can I eliminate the extra space after a tag?
 Nicole FutoryanskyCommunity AnswerThat space is automatically put there by the browser you are using. To get rid of it, you need to use CSS. That is a language used to manipulate the appearance of websites. Good CSS tutorials can be found on websites like Codecademy and W3Schools, but wikiHow has good explanations as well.
 -
QuestionHow do I create an HTML form that stores data?Kaustubh MaladkarCommunity AnswerFor collection of data you need to use a serves side language like PHP. You then need to use the get or post method on the action attribute on your form. It is recommended to use Post as it is safe.


References
About This Article

1. Add the FORM tag to your HTML.
2. Add the action to the FORM tag.
3. Add form options.
4. End the FORM tag.