X
This article was co-authored by wikiHow Staff. Our trained team of editors and researchers validate articles for accuracy and comprehensiveness. wikiHow's Content Management Team carefully monitors the work from our editorial staff to ensure that each article is backed by trusted research and meets our high quality standards.
The wikiHow Tech Team also followed the article's instructions and verified that they work.
This article has been viewed 5,170 times.
Learn more...
This wikiHow teaches you how to edit your Facebook page's category in the About section, using a desktop internet browser.
Steps
-
1Open Facebook in your internet browser. Type www.facebook.com into the address bar, and hit ↵ Enter or ⏎ Return on your keyboard.
- If you're not automatically signed in, enter your email or phone, and your password into the login form on the top-right, and click Log In.
-
2Click Pages under the EXPLORE heading on the left panel. Find Pages next to an orange flag icon on a navigation menu on the left-hand side of your screen. It will open a list of all your pages.
-
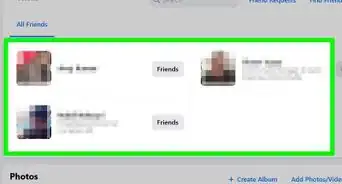
3Click the page you want to edit. This will open the selected business page.
-
4Click About below your page's profile picture. This will open your business page's information tab.
-
5Click the Edit button next to Category. This option is located below the GENERAL heading in the About section. It will open a new pop-up window.
-
6Enter a new category into the text field. A list of available categories will show up on a drop-down menu as you type.
- Optionally, you can delete your page's old category here by clicking the "x" icon next to it.
-
7Select a category from the drop-down menu. This will add the selected category to the Categories field.
-
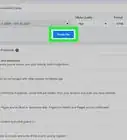
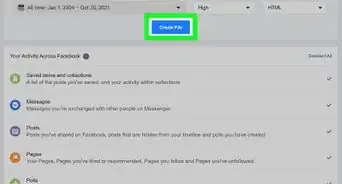
8Click the blue Save button. This will save your page's new categories.


About This Article

wikiHow Staff
wikiHow Staff Writer
This article was co-authored by wikiHow Staff. Our trained team of editors and researchers validate articles for accuracy and comprehensiveness. wikiHow's Content Management Team carefully monitors the work from our editorial staff to ensure that each article is backed by trusted research and meets our high quality standards. This article has been viewed 5,170 times.
How helpful is this?
Co-authors: 2
Updated: February 26, 2018
Views: 5,170
Categories: Facebook