wikiHow is a “wiki,” similar to Wikipedia, which means that many of our articles are co-written by multiple authors. To create this article, 9 people, some anonymous, worked to edit and improve it over time.
This article has been viewed 21,976 times.
Learn more...
The full name of NAS is network attached storage, which is a device provides its users with great convenience. It is often used as file share device by small business users that can not bear the expensive price of SAN and want to reduce backup and restoring cost.
NAS backup means backup your PCs and Servers (such as system, partition or the entire disk) to a NAS device. It’s a convenient operation which permits user to store the data image files to network storage. By doing so, all the users who have the access to the network segment could share and restore that image files.
Steps
Method 1
Method 1 of 2:Backup to NAS with AOMEI Backupper
-
1Run AOMEI Backupper, to backup to NAS, we need to select our NAS device as the destination first. Click the "Step2" as the following picture:
-
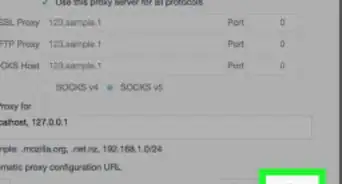
2In the pop-up window, click "Share/NAS Device" from the left-bottom panel.Advertisement
-
3Add our NAS device to AOMEI Backupper. Click "Add share or NAS device" button in the lower-left corner.
-
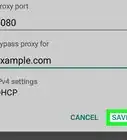
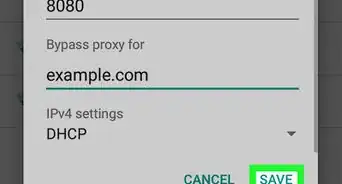
4Enter the IP address of your NAS. You can also input a display name for this NAS device.
-
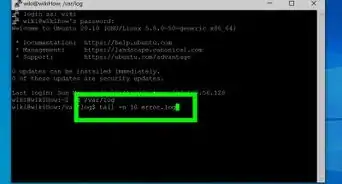
5Now you can find the destination folder in the right-hand side column. Check it and then click OK at the bottom to start the back-upping process.Advertisement


Method 2
Method 2 of 2:Restore from NAS with AOMEI Backupper


References
- AOMEI Backupper Standard Edition - Freeware to Backup&Restore NAS