X
wikiHow is a “wiki,” similar to Wikipedia, which means that many of our articles are co-written by multiple authors. To create this article, volunteer authors worked to edit and improve it over time.
This article has been viewed 15,883 times.
Learn more...
Gradients are gradual changes of color that can be applied to objects when you're editing an image. In Photoshop, you can even add gradients to strokes.
Steps
-
1Create new Photoshop document. Go to File > New or press Ctrl+N.
- From the new dialog box, type a name for the image then choose a document size from the document type menu.
-
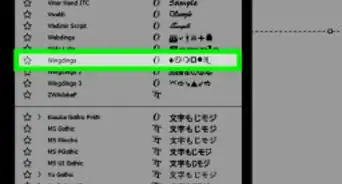
2Type any text. From the tools menu, select the type tool (looks like "t" icon) or simply press T from your keyboard. Then press anywhere to start typing.
- You can choose a font and font size from the the options bar at the top of the screen.
Advertisement -
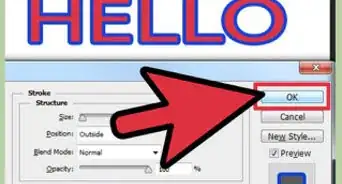
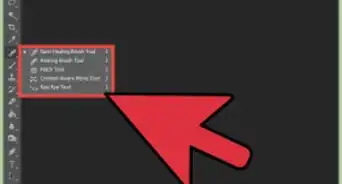
3Add stroke. Click on the little "fx" icon at the bottom of the layers pane and select Stroke.
- You can change stroke settings including position and size if you want
-
4Change Fill type. From the menu, choose Gradient.
- You can change gradient direction by changing the angle.
-
5Change gradient colors. Click the gradient sample to open the gradient editor; then double click on any of the little stoppers to change colors. You can add more colors by clicking along the line in the gradient editor.
- Click along on the line to add another stopper.
-
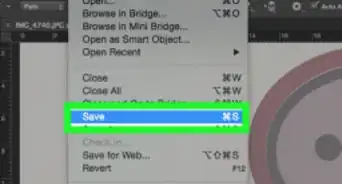
6Click OK too apply changes on the text.Advertisement


-Step-9.webp)

About This Article
Advertisement