X
wikiHow is a “wiki,” similar to Wikipedia, which means that many of our articles are co-written by multiple authors. To create this article, volunteer authors worked to edit and improve it over time.
This article has been viewed 1,924 times.
Learn more...
Dodging and burning is one way of adding definition to an image. Using a bump map is another way of doing it, and it's remarkably easy to do.
Steps
Method 1
Method 1 of 2:Destructively Adding the Effect
Method 1
-
1Duplicate your background layer.
-
2Go to Filter >> 3D >> Generate Normal Map...
-
3Look for Normal Detail in the upper right of your screen.
-
4Increase the Detail Scale all the way to the right. This will give you a feel for what you want to set it for in the future.
-
5Set the slider for Blur from about 2 to 15. If you are doing this for a portrait of a female, you will probably want that a little higher than for men. Use your own judgment.
-
6Press Ctrl⇧ ShiftU to turn the image black and white.
-
7Press CtrlI to invert the layer.
-
8Change the Blend mode from 'Normal' to 'Soft Light'.
-
9Add a curves adjustment layer to lighten the image. If you think that the layer is too dark, lessen the effect with curves.
-
10Clip the adjustment layer to the bump map layer.
-
11Hold down ⇧ Shift while selecting the Bump map and the curves layer and press CtrlG. This will group them together.
-
12Duplicate the group. If you want the effect to be 'more', then duplicate the group.
-
13Add a mask to the group. There will be some places that you don't want the effect. If you have hard edges or strands of hair, you will see some ghosting. Using a mask with a soft brush can alleviate the ghosting and apply the effect exactly where you want it.


Method 2
Method 2 of 2:Non-Destructively Creating the Effect
Method 2
-
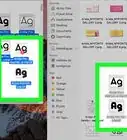
1Create a duplicate of your background layer.
-
2Right-click on the layer and Convert to Smart Object. This allows you to make changes to all of the steps and is non-destructive.
-
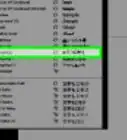
3Go to Filter >> 3D >> Generate Normal Map...
-
4Look for Normal Detail in the upper right of your screen.
-
5Increase the Detail Scale all the way to the right. This will give you a feel for what you want to set it for in the future.
-
6Set the slider for Blur from about 2 to 15. If you are doing this for a portrait of a female, you will probably want that a little higher than for men. Use your own judgment.
-
7Press CtrlU to bring up the Hue/Saturation dialog box and move the Saturation slider all the way to the left to turn the image black and white.
-
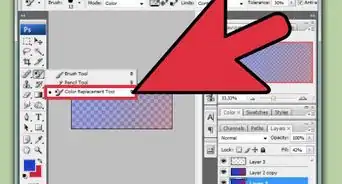
8Press CtrolI to invert the layer.
-
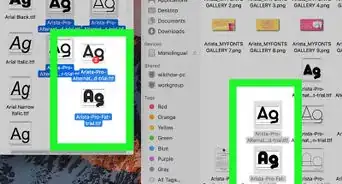
9Change the Blend mode from 'Normal' to 'Soft Light'.
-
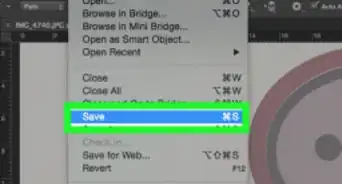
10Add a curves adjustment layer to lighten the image. If you think that the layer is too dark, lessen the effect with curves.
-
11Clip the adjustment layer to the bump map layer.
-
12Hold down ⇧ Shift while selecting the Bump map and the curves layer and press CtrlG. This will group them together.
-
13Duplicate the group. If you want the effect to be 'more', then duplicate the group.
-
14Add a mask to the group. There will be some places that you don't want the effect. If you have hard edges or strands of hair, you will see some ghosting. Using a mask with a soft brush can alleviate the ghosting and apply the effect exactly where you want it.


-Step-9.webp)