X
wikiHow is a “wiki,” similar to Wikipedia, which means that many of our articles are co-written by multiple authors. To create this article, volunteer authors worked to edit and improve it over time.
The wikiHow Tech Team also followed the article's instructions and verified that they work.
This article has been viewed 64,762 times.
Learn more...
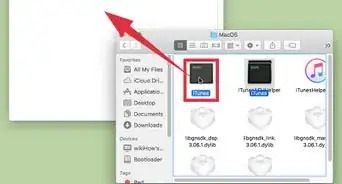
When you have a screenshot of a whole page and show it to someone, they might not know what the page is about. You can add arrows pointing to where you need it to so people can understand what you're talking about.
Steps
-
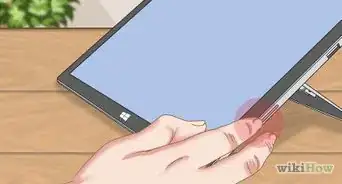
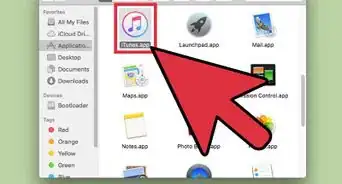
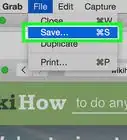
1Open up the screenshot you took. By default, it should open in Mac's Preview app.
-
2Click the small pencil icon in the top menu. The pencil icon is the last icon at the top menu and opens up the Annotation menu, directly under the top menu.
-
3Click the small arrow or line icon and select the arrow option from the drop-down menu. On some versions of Preview, the two options are separate, but on newest versions, you find the arrow by clicking the line icon and then adjusting the line style to one with an arrow on one side.
- You can also select the lines option, and make an arrow with three strokes of the lines.
-
4Click, hold, and drag until the arrow is pointing to the right spot you want it to. Make sure the arrow is pointing where it's supposed to point. Let go of your mouse button when you're done.
- To adjust the location of the arrow, you can click and drag to move it around the image.
- To change the length or angle of the arrow, you can click on one end of the arrow and hold your mouse down while adjusting the arrow.
- You can also change the color and thickness/style of the arrow from the menu bar by clicking on the relevant icons and making your selections.
-
5Click the pencil icon again. This will remove the bottom menu.
-
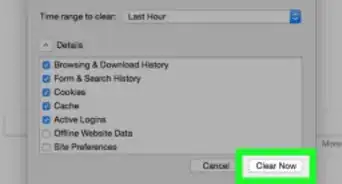
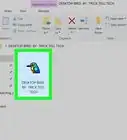
6Save your screenshot. When you show or add the screenshot to someone, the arrow will be there.
-Step-1.jpg)
-Step-2.jpg)
-Step-3.jpg)
-Step-4.jpg)
-Step-5.jpg)
-Step-6.jpg)
Community Q&A
-
QuestionThere is no annotation bar, there is only a markup bar. How can I add an arrow?
 BustertikoCommunity AnswerThe markup bar is the replacement for the annotation bar for newer versions. It looks almost the same except a few things. To get the arrow on the markup version, click the markup button, click the icon with a square and a circle, and choose the arrow from the drop-down menu. Then move it around until it's where you want it to be.