This article was written by Nicole Levine, MFA. Nicole Levine is a Technology Writer and Editor for wikiHow. She has more than 20 years of experience creating technical documentation and leading support teams at major web hosting and software companies. Nicole also holds an MFA in Creative Writing from Portland State University and teaches composition, fiction-writing, and zine-making at various institutions.
The wikiHow Tech Team also followed the article's instructions and verified that they work.
This article has been viewed 6,507 times.
This wikiHow teaches you how to zoom in and out in Google Photos by pinching your fingers out or inward.
Steps
-
1Open Google Photos. It’s the multicolored pinwheel icon labeled “Photos.” You’ll typically find it on the home screen or in the app drawer.
-
2Tap the image you want to see larger. The full image will now appear.Advertisement
-
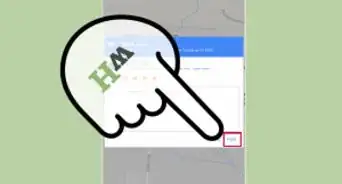
3Press your thumb and a finger together on the screen and pull them apart. Think of this motion as the opposite of a pinch. This enlarges an area of the image.
- Repeat the reverse-pinch gesture to zoom in further.
- While the image is zoomed-in, you can move it around by dragging it with one finger.
-
4Pinch two fingers together to zoom out. This zooms out so you can see more of the image. Continue pinching until the image returns to its normal size.Advertisement


About This Article

1. Open Photos.
2. Tap the image.
3. Pinch two fingers apart on the screen to zoom in.
4. Pinch fingers together to zoom out.