This article was co-authored by wikiHow staff writer, Janice Tieperman. Janice is a professional and creative writer who has worked at wikiHow since 2019. With both a B.A. and M.A. in English from East Stroudsburg University, she has a passion for writing a wide variety of content for anyone and everyone. In her free time, you can find her working on a new crochet pattern, listening to true crime podcasts, or tackling a new creative writing project.
There are 8 references cited in this article, which can be found at the bottom of the page.
The wikiHow Video Team also followed the article's instructions and verified that they work.
This article has been viewed 8,529 times.
Learn more...
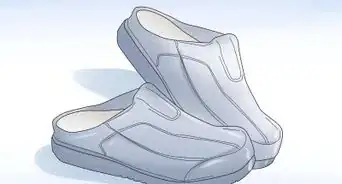
Your laces help keep your shoes in place, but they can really cramp up your style in the process. Don’t worry—there are plenty of easy, relaxed ways you can slip into your shoes without your laces taking center stage. A few of the items on this list may involve a simple bow or knot, but they’ll all keep the ends of your laces safely nestled away and out of sight during your next outing.
Steps
Method 1
Method 1 of 7:Step on your laces.
-
1Tuck your laces beneath the tongue and step on them. First, lace up your shoes in their default lacing pattern, with the ends of the laces dangling and untied. Don’t tighten the laces—instead, slip them under the tongue of your shoe, so they won’t be a tripping hazard when you’re out and about. Then, you can slip on your shoes, with your feet holding the laces in place.[1]
- This helps keep your shoe secure and saves you from a nasty spill!
Advertisement

Method 2
Method 2 of 7:Loosen your laces.
-
1Grab the sections of lace along the wide part of your shoe’s tongue. Give these laces a couple of good tugs, so both ends of your laces grow shorter and shorter. Keep pulling on this front portion until the ends of your laces are only about 1 to 2 in (2.5 to 5.1 cm) long. Then, slip your foot into the shoe for an easy, seamless fit.[2]
- You don’t need to tuck in the ends of your shoelaces—they’ll be short enough on their own.
Method 3
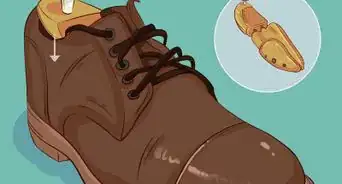
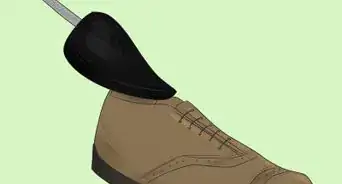
Method 3 of 7:Cut off the extra laces.
-
1Lace up your shoes loosely and trim off the ends. Leave at least 1 to 2 in (2.5 to 5.1 cm) of lace left over, and toss out the extra bits that you just cut off. Squeeze a dot of super glue along the frayed ends of your laces, and follow the recommended drying time on the bottle. Once your laces are sealed and ready to go, feel free to wear them outside![3]
- You can also order heat shrink tubing for your laces online and seal them off that way.
Advertisement

Method 4
Method 4 of 7:Knot the laces on the sides.
-
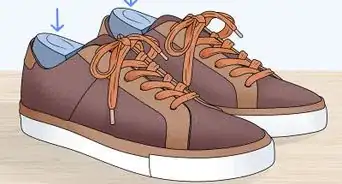
1Knot your laces separately if your shoes are a little too big. Grab your right shoelace, which is sticking out of the right side eyelet. Tie this lace into a simple knot along the outside of the eyelet, leaving 1 to 2 in (2.5 to 5.1 cm) of lace sticking out the side. Repeat this with the left shoelace, along with both shoelaces of your other shoe.[4]
- This technically requires you to “tie” your laces, but you won’t be tying them together.
Method 5
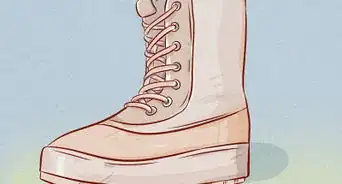
Method 5 of 7:Slip your laces under the tongue.
-
1Tie your laces together into a bow. Slide the bow off and beneath the tongue, so it’s completely hidden from view. While you’re technically tying your shoes for this one, it’ll look like your shoes are untied! [5]Advertisement
Method 6
Method 6 of 7:Cross your laces and tuck in the ends.
-
1Lace up your shoes in a criss-cross pattern while skipping an eyelet. Pull your laces through the 2 bottom eyelets. Then, thread your right lace through the third eyelet on the left side of the shoe. Do the same thing with the left lace, threading it through the third eyelet along the right side. Repeat this criss-cross pattern up the tongue of your shoe, skipping an eyelet on each side as you go. Once you’ve finished, knot your laces beneath the tongue of your shoe, so no one can see them.[6]
Method 7
Method 7 of 7:Lace your shoes straight across.
-
1Point your shoe forward and thread both ends of your laces through the lowest row of eyelets. Then, take the right lace and skip the first eyelet, pulling it upwards through the second hole. Pull the left lace upwards through the first eyelet, and then drag it straight across your shoe, creating a horizontal line. Repeat the same motion with your right lace, dragging it across the shoe to create a second horizontal bar. Follow this pattern up the tongue of your shoe, creating a “ladder” of horizontal bars up your shoe. Knot the laces together along the inside of your shoe beneath the tongue, so they aren’t visible to the naked eye.[7]
- Your shoes will technically be tied, but they won’t look like it!
Advertisement


References
- ↑ https://m.youtube.com/watch?v=KjVL4cZP2cc&t=0m55s
- ↑ https://m.youtube.com/watch?v=KjVL4cZP2cc&t=2m40s
- ↑ https://m.youtube.com/watch?v=JWGnrErpLPY&t=1m40s
- ↑ https://m.youtube.com/watch?v=KjVL4cZP2cc&t=1m45s
- ↑ https://m.youtube.com/watch?v=v3kHxkb8S3Y&t=1m55s
- ↑ https://www.lacesout.net/air-max-lacing-guide/
- ↑ https://m.youtube.com/watch?v=2CebfEHmdmQ&t=1m30s
- ↑ https://m.youtube.com/watch?v=JWGnrErpLPY&t=2m30s