X
wikiHow is a “wiki,” similar to Wikipedia, which means that many of our articles are co-written by multiple authors. To create this article, volunteer authors worked to edit and improve it over time.
This article has been viewed 17,148 times.
Learn more...
The Crosscut saw is a traditional hand tool and an old standby for cutting pieces of wood off other pieces. Here is the correct technique for using one safely and effectively.
Steps
-
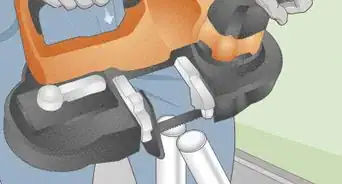
1Get a saw with fine teeth. Finer teeth make for a smoother cut, essential to make learning how to use a saw easier. Larger toothed saws are used for cuts where accuracy can be sacrificed for cutting speed.
-
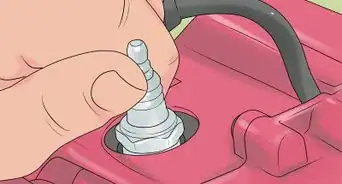
2Make sure that your saw is sharp. A dull saw makes sawing highly unpleasant.Advertisement
-
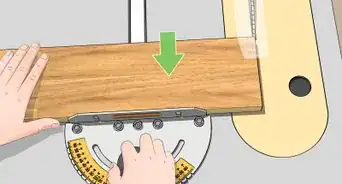
3Secure a what you intend to cut on 2 tables or sawhorses. Hold the wood down or clamp it into place so it that will not move. Mark the location where you will make the cut.
-
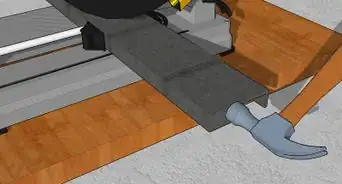
4Extend the end to be cut about one 10cm past the end of the sawhorse. Make sure the cut location is off the sawhorse or not in between the sawhorses.
-
5Hold the saw in your dominant hand, using the other hand to hold the wood. Keep fingers clear of the area to be cut.
-
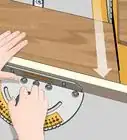
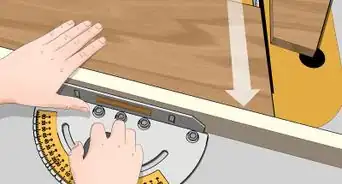
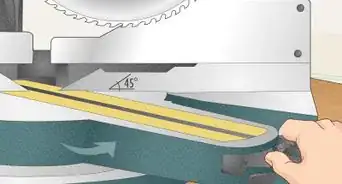
6Start the cut. Use a straight piece of wood to keep the saw in line with the line you wish to cut. Slowly draw the blade of the saw on the mark on the wood at a 45 degree angle.
-
7Repeat this until a groove is started in the wood.
-
8Slowly start to saw the wood, keeping the blade against the wood at all times. Do not let the blade come off the wood.
-
9Use minimum pressure. Let the saw do the work. Using too much force will make the saw bite into the wood, getting it stuck, possibly leading to you bending the saw.
-
10Be consistent with your strokes and use most of the length blade. It is not a knife, so do not try to use it as one.
-
11Let the saw do the work. As long as you see sawdust coming from the wood, it is being cut.
-
12When you get almost all the way through, continue sawing and try to avoid breaking the wood. Support the piece that is being cut off with your hand if possible.
-
13Slow down and use low pressure when reaching the end of the cut.Advertisement


Community Q&A
-
QuestionHow do I prevent ending up with one side of the wood slanted/lopsided/uneven?
 Community AnswerA way to get started correctly is to place a square on the wood and make sure the saw is parallel to the square leg that is sticking up. Take a few strokes and check again. With a little practice, you get the feel for it and may not need the squaring step. Also, using a square to run a knife blade along your pencil marks helps to keep you on the line as you cut.
Things You'll Need
- Wood - 8' (or stud length) pine 2 x 4 measured into 1 1/2 inch sections
- Crosscut saw (for younger students try to use a shorter than standard saw if you can get one)
- Tables or saw horses
About This Article
Advertisement