X
wikiHow is a “wiki,” similar to Wikipedia, which means that many of our articles are co-written by multiple authors. To create this article, volunteer authors worked to edit and improve it over time.
This article has been viewed 93,712 times.
Learn more...
This article will show you how to turn your MacBook computer into a wireless router so that you can share internet connection with other people or simply use internet on your smartphone.
Steps
-
1Navigate to Apple>System Preferences> Network
-
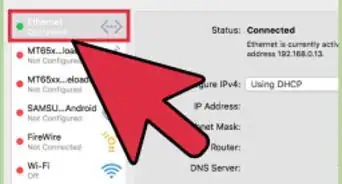
2On the Network window click on AirPort from the left Menu.Advertisement
-
3Make sure your AirPort is turned on. If it isn't press the "Turn AirPort On" button.
-
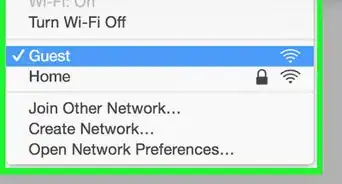
4Under the "Network Name" Drop down menu choose "Create Network".
-
5Enter your desired SSID and Password and Create.
-
6Your router is up but its not sharing internet yet. Navigate back to System Preferences.
-
7Choose Sharing.
-
8Enable the "Internet Sharing" feature by activating the checkbox next to it in the left menu.
-
9You will receive a message asking if you are sure that you want to start internet sharing. Click Start.
-
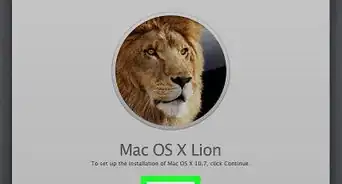
10In the "Share internet from" drop-down menu choose your internet source. Most of the time this is Ethernet.
-
11in the "To Computers Using" menu choose AirPort.
-
12Now you can connect to your router with other devices and enjoy internet over wifi.Advertisement


Warnings
- Since the MacBook Air does not have an ethernet port and uses AirPort as its main internet source , this MacBook brand users can only use this article to make a Local Area Network over wifi and CAN NOT share internet via wifi.Thanks!
Advertisement
-Connection-Step-12-Version-5.webp)


About This Article
Advertisement


-Connection-Step-12-Version-5.webp)