X
wikiHow is a “wiki,” similar to Wikipedia, which means that many of our articles are co-written by multiple authors. To create this article, volunteer authors worked to edit and improve it over time.
This article has been viewed 26,378 times.
Learn more...
Home Sharing is an iTunes feature that allows you to share iTunes content with other devices on your home network, including computers, iOS devices, and an Apple TV. To use Home Sharing, you must first enable the feature in iTunes, then enable Home Sharing on all other devices connected to your home network.
Steps
Part 1
Part 1 of 4:Enabling Home Sharing in iTunes
Part 1
-
1Launch the iTunes application on your Windows or Mac computer. To use Home Sharing across all devices, you must first enable the feature in iTunes.
-
2Click on “Help,” select “Check for updates,” then follow the on-screen instructions to apply any available updates. You must be running the latest version of iTunes to use Home Sharing.
- If using Mac OS X, click on “iTunes” and select “Check for updates.”
-
3Click on “File” and select “Home Sharing.”
-
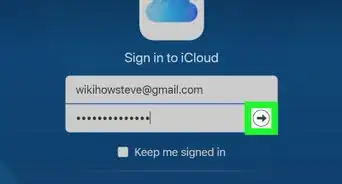
4Select “Turn on Home Sharing,” then enter your Apple ID and password.
- If you don’t have an existing Apple ID, click on “Don’t have an Apple ID?” and follow the on-screen instructions to create an ID. You must have an Apple ID to use Home Sharing across multiple devices.
-
5Click on “Turn on Home Sharing” again after entering your Apple ID and password. Home Sharing will now be enabled in iTunes.
- To enable Home Sharing on other computers in your household, repeat steps #1 through #5 on each respective computer, for up to five computers. You can only use Home Sharing on computers that have iTunes installed.[1]


Part 2
Part 2 of 4:Enabling Home Sharing on iOS Devices
Part 2
-
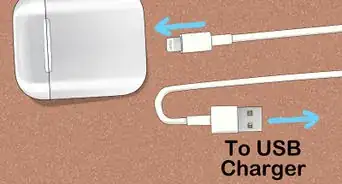
1Verify that your iOS device is connected to the same home network as your computer. Home Sharing only works on devices connected to the same home network. For example, if enabling Home Sharing on an iPhone connected to Verizon’s cellular network, tap on “Settings,” tap on “Wi-Fi,” then select and log into your home Wi-Fi network.
-
2Tap on “Settings,” then tap on “Video.”
-
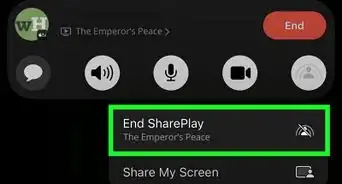
3Tap on “Home Sharing,” then enter the same Apple ID and password you entered in iTunes. The Home Sharing feature will now be enabled on your iOS device, and you can access your iTunes library.


Part 3
Part 3 of 4:Enabling Home Sharing on Apple TV
Part 3
-
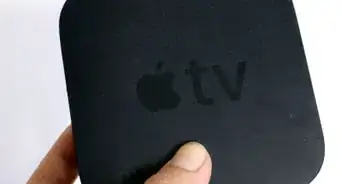
1Verify that your Apple TV is connected to the same home network to which your computer is connected. Home Sharing will only work on your Apple TV if it’s connected to the same home network as your computer.
- To join your home network, use your remote to navigate to Settings > General > Network, then select the name of your Wi-Fi network.
-
2Use your remote to select “Settings,” then select “Computers.”
-
3Select “Turn On Home Sharing,” then enter your Apple ID and password.
-
4Select “Submit.” Home Sharing will now be enabled on your Apple TV, and you can access your iTunes library.


Part 4
Part 4 of 4:Troubleshooting Home Sharing
Part 4
-
1Verify your computer is awake if you are unable to access your iTunes library on other devices after enabling Home Sharing. Your iTunes library won’t show up if your computer is sleeping, powered off, or iTunes is closed.
- Move your mouse pointer to wake up your computer, or disable automatic sleep on your computer.
-
2Verify that your Windows or Mac computer has all the latest updates installed from Microsoft or Apple, respectively. In some cases, failing to install the latest updates can interfere with Home Sharing in iTunes.
-
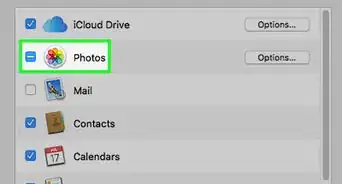
3Make sure you’re using the same Apple ID in iTunes and across all devices when using Home Sharing. You will not have access to your iTunes library if signed in under a different Apple ID.
-
4Try disabling any firewall settings on your computer if you experience problems using Home Sharing. In some cases, your firewall settings can prevent you from establishing a connection with other computers on your home network.[2]