X
This article was written by Jack Lloyd. Jack Lloyd is a Technology Writer and Editor for wikiHow. He has over two years of experience writing and editing technology-related articles. He is technology enthusiast and an English teacher.
The wikiHow Tech Team also followed the article's instructions and verified that they work.
This article has been viewed 22,392 times.
This wikiHow teaches you how to prevent your iPhone from accessing your geographical location and sending it to apps like Uber or Facebook.
Steps
Method 1
Method 1 of 3:Disabling All Location Services
Method 1
-
1Open your iPhone's Settings. It's the grey cog icon on one of your Home screens, displayed either as an app or in a folder named "Utilities."
-
2Scroll to the third group of options and tap Privacy.
-
3Select Location Services.
-
4Slide the green Location Services switch left to the "Off" position. It should turn grey. Your iPhone will no longer share your location automatically with any of your apps.


Method 2
Method 2 of 3:Disabling Location Services for Specific Apps
Method 2
-
1Open your iPhone's Settings. This is the grey gear icon on one of your Home screens. It may also be in a folder entitled "Utilities."
-
2Scroll to the third group of options and tap Privacy.
-
3Select Location Services.
-
4Select an app. All location service-using apps are listed below the "Share My Location" option on this page.
- For example, you might tap Camera to change the location settings for the Camera app.
-
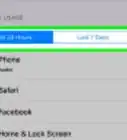
5Review your selected app's location sharing options. Depending on the app you selected, your options may vary from the following:
- Never - Never allow this app to know your location.
- While Using - Allow this app to know your location only while using it. Some apps won't have this option.
- Always - Always let this app know your location, regardless of whether or not you're using it. Some apps won't have this option.
-
6Select your preferred option. If you're trying to disable location services entirely, you'll want to select Never for your selected app.
-
7Tap <Location Services. It's in the top left corner of your screen.
-
8Repeat this process for all preferred apps. In doing so, you'll be able to turn off Location Services for some apps while leaving them enabled for others.


Method 3
Method 3 of 3:Disabling Location Services for Specific System Services
Method 3
-
1Open your iPhone's Settings. The Settings app is the grey gear-shaped icon on one of your iPhone's Home screens (or in a folder named "Utilities").
-
2Scroll to the third group of options and tap Privacy.
-
3Select Location Services.
-
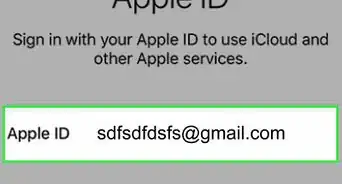
4Tap Share My Location. This option is below the "Location Services" switch.
-
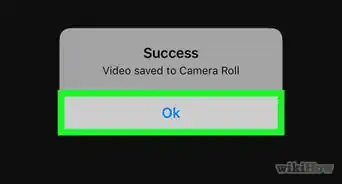
5Slide the green Share My Location switch left to the "Off" position. It should also turn grey, signifying that you will no longer be able to send your location in the Messages app.
- This will also disable the "Find My Friends" iCloud feature.
-
6Tap <Location Services. It's in the top left corner of your screen.
-
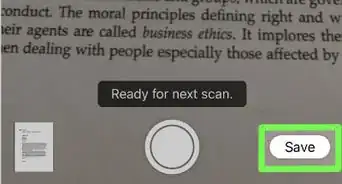
7Scroll to the bottom of the page and tap System Services. From here, you can disable background processes such as "Compass Calibration", "Location-Based Alerts", and the "Popular Near Me" feature.
-
8Slide the green switch next to a System Service left to the "Off" position. It should turn grey, signifying that your selected System Service will no longer use your location.
- For example, if you wanted to turn off Location Services for the "Emergency SOS" System Service, you would slide the green switch next to it to the left.
-
9Repeat this process for each System Service you wish to disable. When you're done, your iPhone will no longer route Location Services to your selected System Services.


Warnings
- Turning off all Location Services will prevent you from being able to recover your phone if it's ever stolen.Thanks!


About This Article
Article SummaryX
1. Open Settings.
2. Tap Privacy.
3. Select Location Services.
4. Slide the Location Services switch left.
Did this summary help you?