X
wikiHow is a “wiki,” similar to Wikipedia, which means that many of our articles are co-written by multiple authors. To create this article, volunteer authors worked to edit and improve it over time.
This article has been viewed 2,866 times.
Learn more...
If you are just starting out on audition or have worked with the software for a while, you will know that sometimes your microphone may not always be adjusted correctly. Whether you are a beginner or an experienced user, this can be very frustrating. this article will teach you by step by step how to check if your microphone is being picked up by your computer and how to test if it's working properly.
Steps
Part 1
Part 1 of 3:Connecting your Microphone
Part 1
-
1Insert the microphone into the computer. By connecting your microphone to your computer. Your computer will begin to search for the device and connect to it.
-
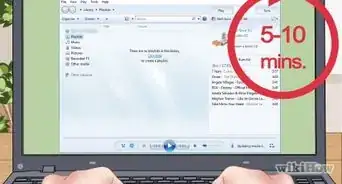
2Go into audio settings. Search for the device in the search bar and select Bluetooth and other device settings.Advertisement
-
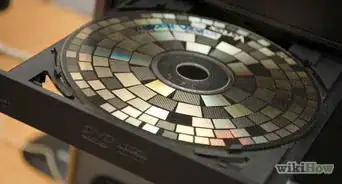
3Find your microphone. Locate your microphone under the audio section. If you see your microphone then your microphone is connected.
-
4Open the Adobe Audition software. Opening the software can be done by either of the two ways below:
- Selecting the Audition app itself
- Selecting the Creative cloud, then selecting audition
- If you do not yet have Adobe Audition, you can go to https://www.adobe.com/products/audition/free-trial-download.html, and you will be able to start a free trial of Adobe Audition.
Advertisement

.jpg)


Part 2
Part 2 of 3:Configuring the Audio Settings
Part 2
-
1Select Edit in Adobe Audition. Go to the top of the page and click on edit, then a drop-down menu will appear.
-
2Select preferences. By going down the menu select preferences and then a new pop up menu will open.
-
3Select Audio Hardware. In the following pop up menu select audio hardware, then a new dialogue box will appear.
-
4Adjust the audio settings.
- Adjust your Default input to your desired microphone. Click on the drop-down box for default input and you will see all the microphones that are connected with your computer.
- Adjust your default output to your device you want to hear the playback (i.e. headphones, speakers etc.). Click on the drop-down box for your device output to see all the audio devices connected to your computer.
-
5Select okay once you have properly configured your settings. Once you select okay your settings will be saved and you can move on to test your microphone.Advertisement
.jpg)
.jpg)
.jpg)
.jpg)
Part 3
Part 3 of 3:Testing the Audio
Part 3
-
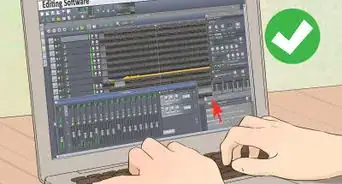
1Test your microphone. With your headphones connected and your audio hardware configured correctly, it's time to ensure your microphone is picking up your audio.
-
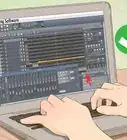
2Click on the red record dot in the middle of the playback options. Once you click on the dot you will begin recording.
- Say a few words directly in the microphone
- Press the red button again to stop the recording
-
3Press the Play button to hear the test recording. Listen to your recording and make sure that you are able to hear the recording you just made.
- If you can hear the recording from your desired output setting, then you have successfully set up your microphone
- If you are unable to hear your microphone repeat the above steps
-
4Start working on your projects. Once you have completed all the steps above your microphone should be working properly and you are ready to start your audio project.Advertisement


.jpg)


About This Article
Advertisement