X
wikiHow is a “wiki,” similar to Wikipedia, which means that many of our articles are co-written by multiple authors. To create this article, volunteer authors worked to edit and improve it over time.
This article has been viewed 62,971 times.
Learn more...
Figuring out how to take screenshots on your BlueStacks? Here is the solution to it. Just follow this easy method to take quick screenshots on your BlueStacks.
Steps
Part 1
Part 1 of 2:Taking Screenshots on BlueStacks
Part 1
-
1Open BlueStacks. You can open it by clicking Open on the desktop shortcut named "Start BlueStacks". It will display a window showing "Initializing".
-
2Once the app gets opened, you will be able to see three symbols. These symbols are located on the right bottom of your BlueStacks screen.
-
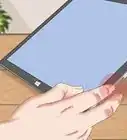
3Open whatever you want on your screenshot. You are free to take screenshot of any app on any time.
-
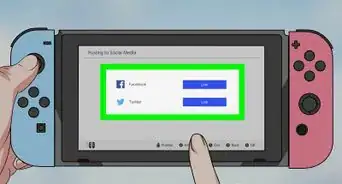
4Click the symbol which look likes the symbol in the image. It will show options, one of which is 'Send to Windows', which can help you save the screenshot on your system, while others will help you share them on social networking sites.


Part 2
Part 2 of 2:Using 'Send to Desktop' function.
Part 2
-
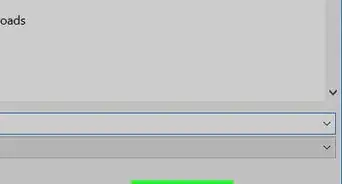
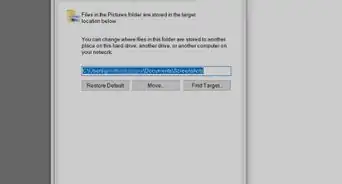
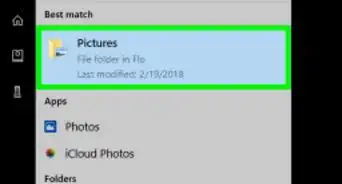
1Click on the 'Send on Desktop' option. It will open a new window which will let you choose your destination to save your screenshot.
-
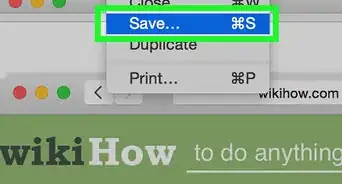
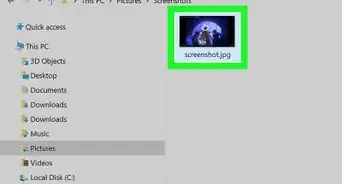
2Click save. Now your screenshot has been saved as an .jpg file.You can also share it on social networking sites by just choosing the option when the screenshot key is clicked.


Community Q&A
-
QuestionCan you describe the button I have to press?
 Community AnswerThe screenshot button should be on the black-colored bar in the left corner, or you can press the "prt scr" button on the keyboard.
-Step-19.webp)


-Step-19.webp)